DIY Electric Guitar
15-07-2017
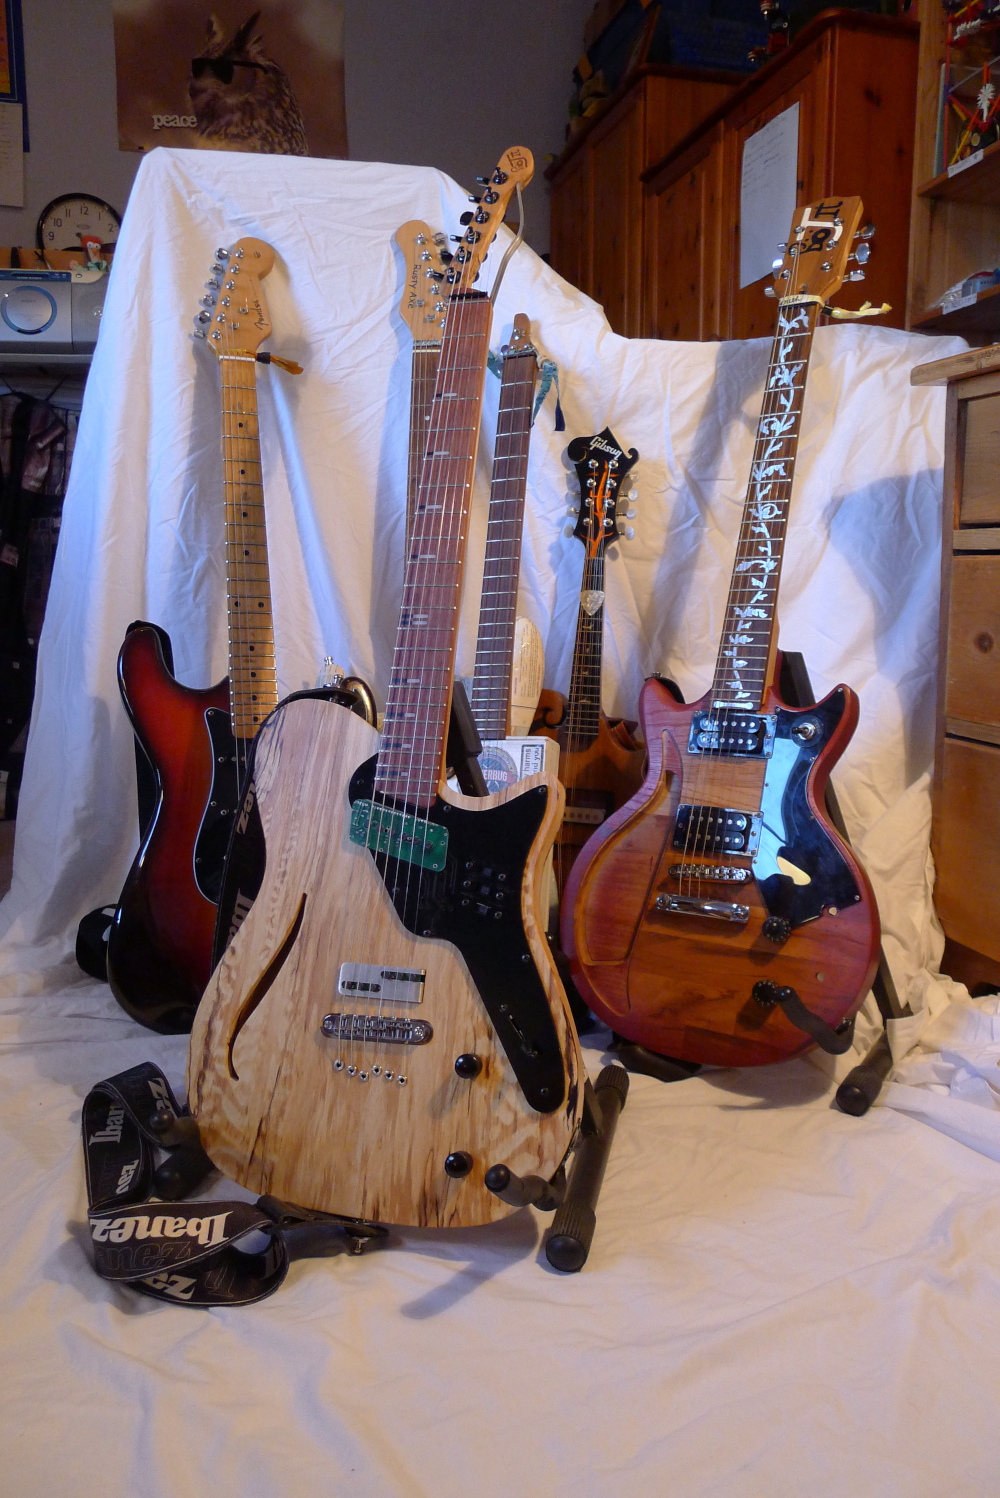
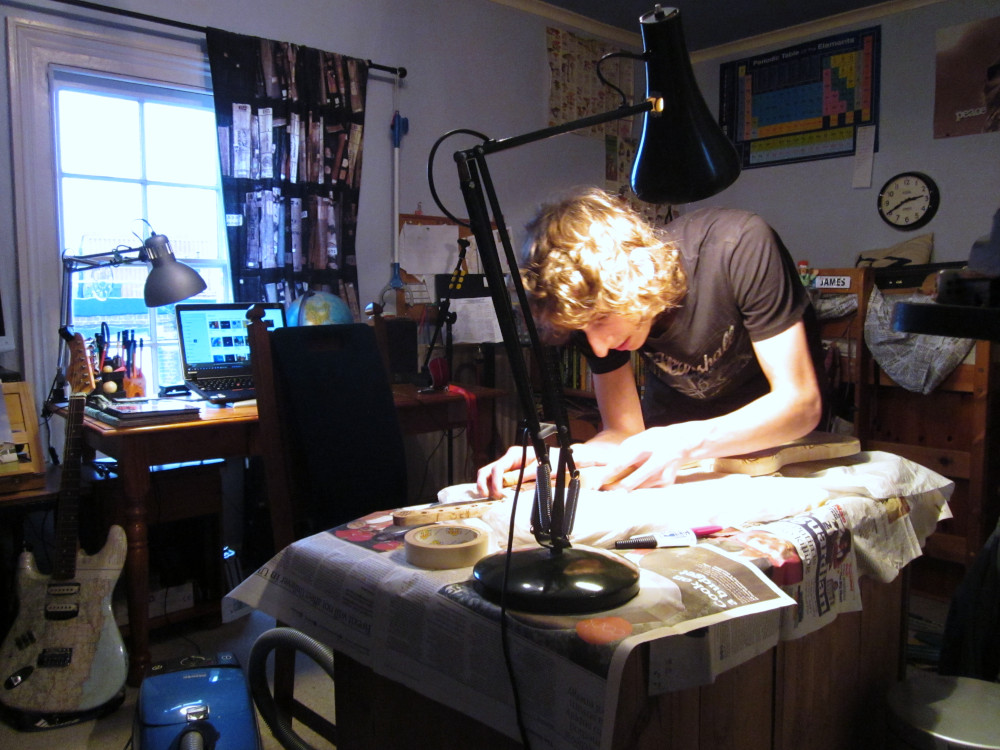
Of all the things I have built so far, my home-made electric guitar gets by far the most use day to day. I have dabbled with home-made instruments before (the picture below shows some of them), but this was the first time that I built a guitar entirely from scratch. The design is a hollow-body loosely based on a Telecaster, with a few significant design changes, which I will outline below. As I was documenting this guitar build for GCSE coursework, I have a very large number of photos of the build process. However, in the interest of keeping this article brief, I am keeping this page picture heavy, with most of the generic guitar-building information left absent. If you are looking for information on how to build guitars, I would highly recommend Crimson Guitars and Stewart Macdonald as a good sources of information about guitar building.
As with most guitar builds, the first steps is preparing blanks. This largely involves lots of planing and gluing but is otherwise straightforward. Unfortunately, my timber choices made this stage a bit more tricky for me. While I made part of the body out of relatively stable, easy to work sycamore, the rest I decided to make out of spalted beech. Spalted beech is essentially regular beech that has been infected with a fungus. This fungus forms rot lines in the wood structure, leaving behind beautiful figuring, but this has the side effect of weakening the timber considerably. When picking out wood, it is important to check each piece to see if it is still structurally sound. It is not the sort of wood I would buy sight unseen. Fortunately, many large timber mills consider spalted wood to be scrap, so if you know the right place you can get this beautiful timber at spectacular prices!
Contrary to online advice, I didn’t pre-treat the spalted beech in any way. The lumber I bought only had light figuring, so this worked out fine, but for more heavily figured timber where the rot is much softer, lots of people recommend soaking the wood in an epoxy-based hardener before working it. This may also help reduce the amount of warping that this wood can undergo if not properly seasoned! As I do not trust myself to make stupid mistakes or slips while woodworking, I decided to make a very comprehensive set of templates for this guitar. Now, here I did have the ability to cheat a bit: I laser-cut the templates at school. Obviously, I won’t have access to a laser-cutter forever, but I have yet to find a way to make accurate templates quickly and easily without CNC machines. Cutting and sanding up to a glued-down printed template gets reasonably close though!
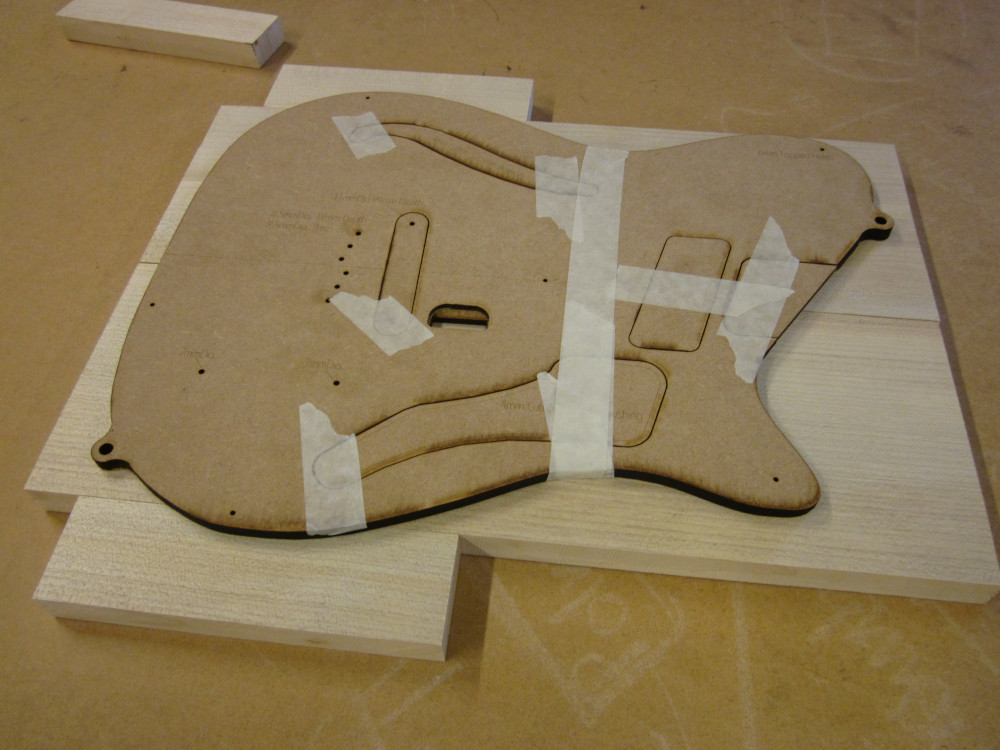
Outside the guitar’s perimeter, the templates include a locating pin. This is because I worked on the various layers of the body separately before gluing them together. This may seem odd, as there is no real reason to work on the layers separately: it would be easier to process them all at once, thus ensuring that they all came out exactly the same size. My reason for not doing this was actually just to make working on the guitar easier in school. In our school workshops, only the teachers can use the routers and the bandsaws, so by working on the thinner layers of the body individually I could use the less dangerous machine tools, bypassing the long queues for the teacher-only machines.
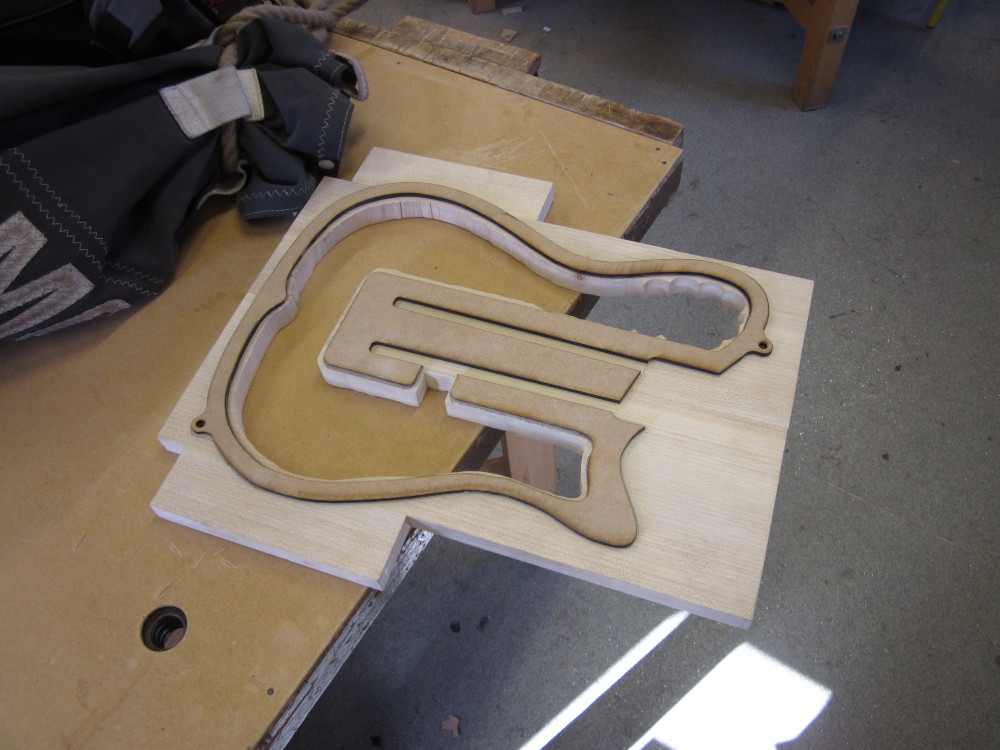
Because my guitar body had both front and back beech caps, hollowing out the body was very simple. Instead of having to drill out all the waste wood with a Forstner bit and route the pocket clean, I could simply cut out the cavity with a scroll-saw and knock out the middle in one piece. I also routed out two slots in the central blank - what they are for will become clear later…
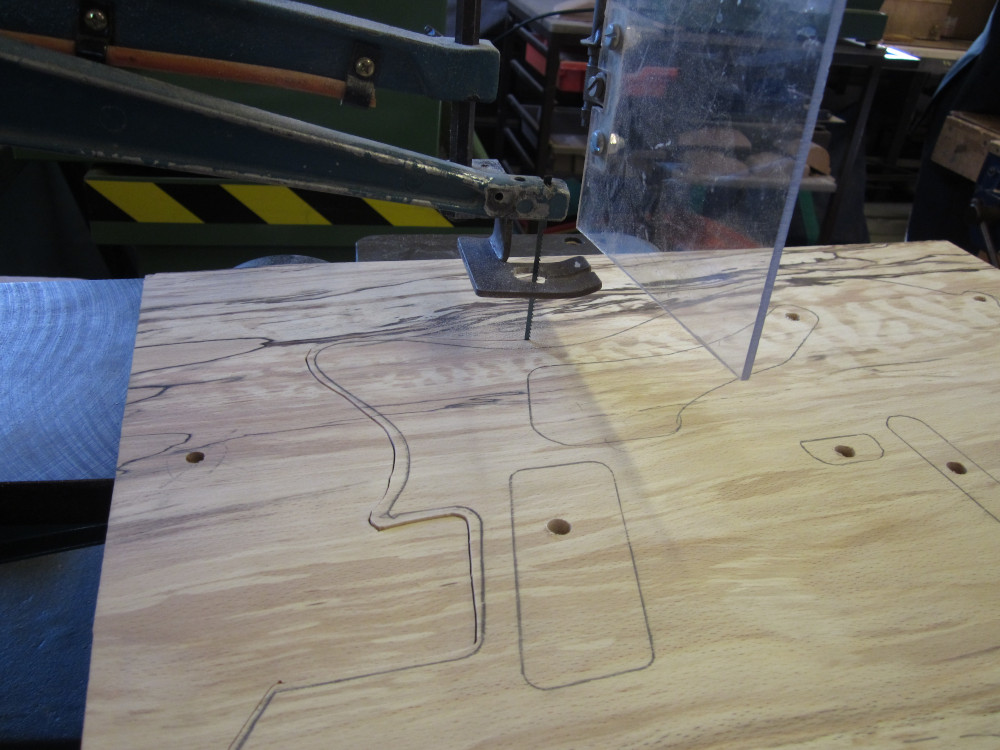
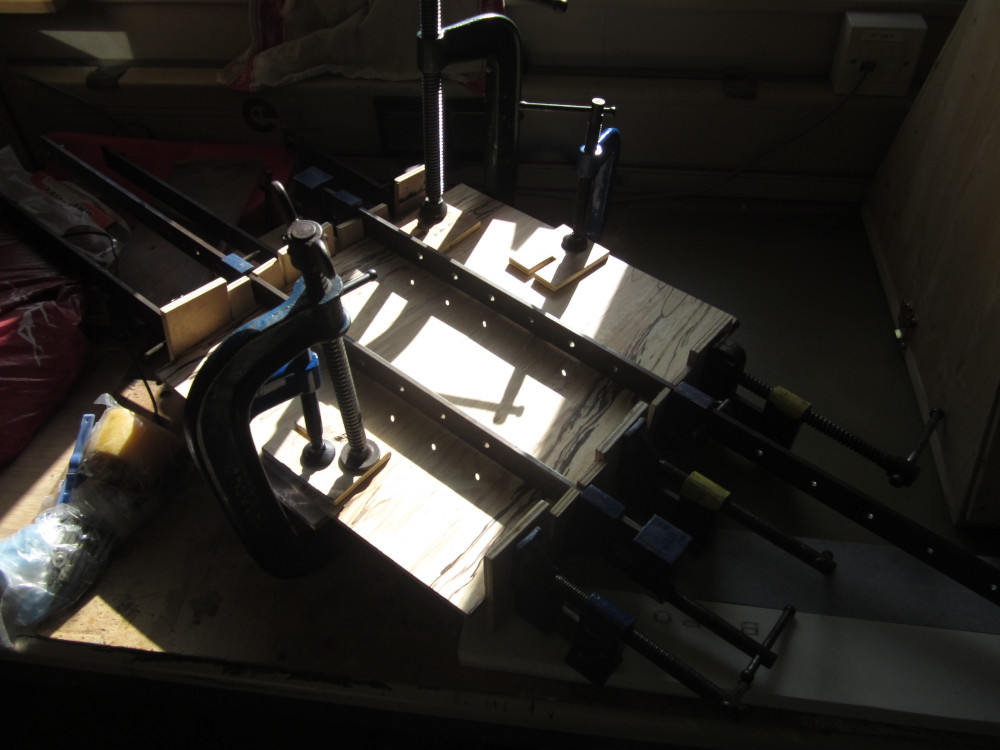
Above is a picture of me cutting out the guitar top. Note the slightly mismatched bookmatching: the mould figuring in the wood is so unpredictable that even the width of a single saw-cut and some light planing causes the two bookmatched sides to differ in grain pattern. In the end I did end up routing the top and bottom to shape with a template, but I designed it so that the routing goes all the way through each layer. This meant I could use a table router instead of a handheld router to ensure that all the edges were perfectly perpendicular.
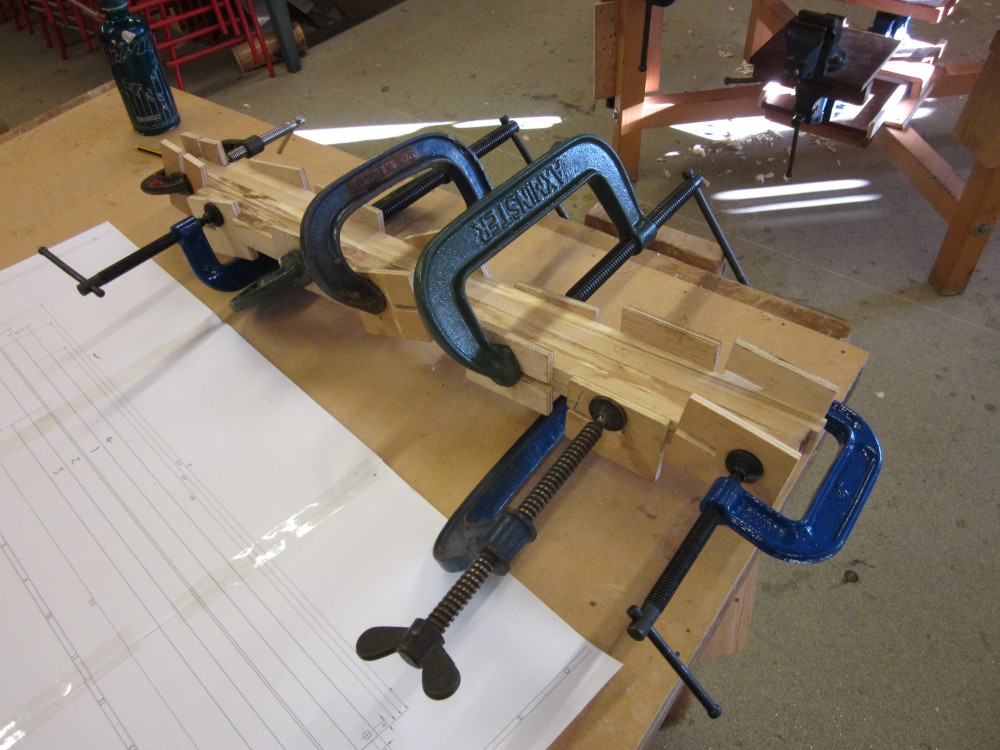
The glue-up for the for the neck blank was more difficult: as I was using spalted beech, I wanted to make a really stable blank which wouldn’t warp or twist. I did this by laminating together multiple strips of spalted beech with alternating grain directions, and I threw in some thin strips of veneer for aesthetic purposes. I used plenty of glue and tried to arrange the strips so that grain tear-out would be minimal. This was for good reason, as the neck was machined to shape on a CNC! While the neck isn’t that complex to make without CNC tools, I wanted to play with the CNC router we have at school, as it remains largely unused. The CNC toolpathing for the neck was slightly more complex than expected, because the working area of the machine is smaller than the guitar neck I was machining, so multiple indexing locations were required. A combination of this and the machine’s terrible software meant that seven separate CNC operations were required to machine the relatively simple neck geometry. Wood tear-out and indexing/alignment were still problems, but overall the process was not as bad as I expected it to be.
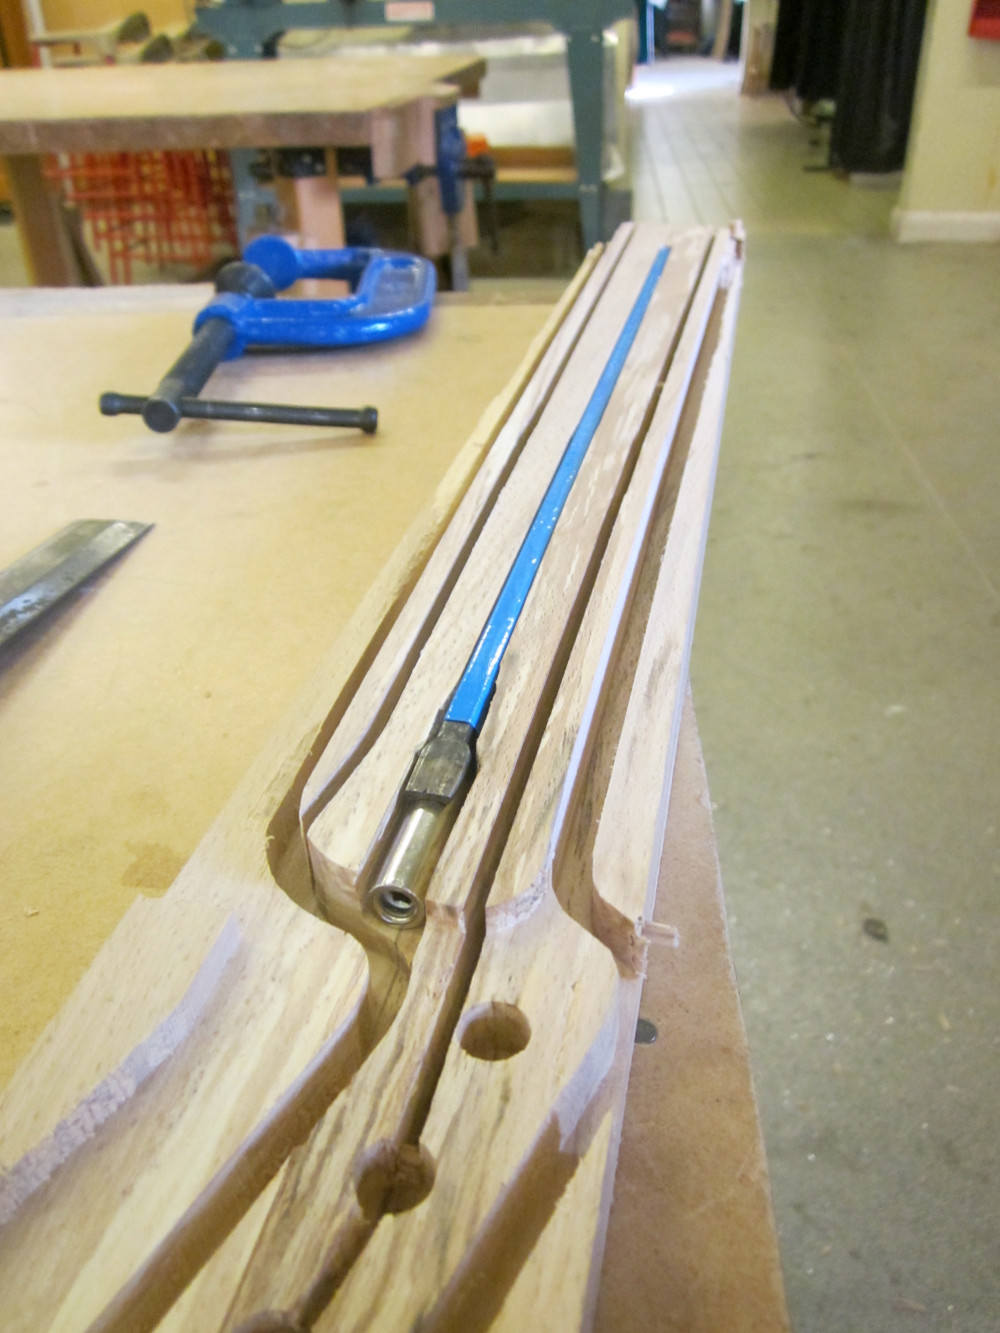
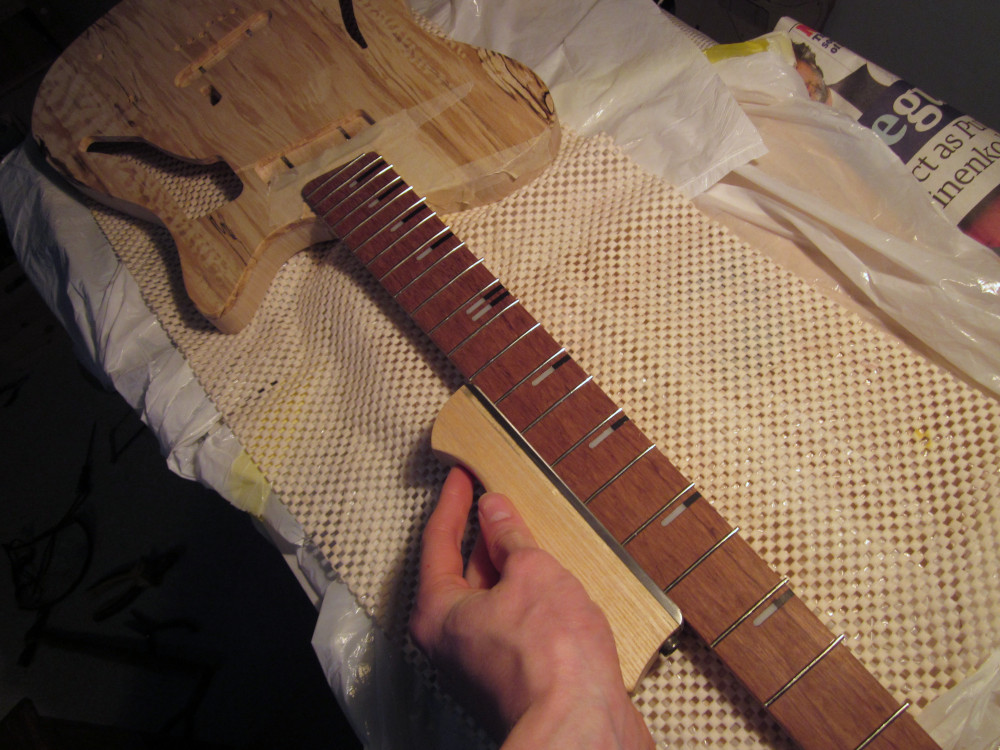
The photo above shows the neck between CNC operations, while I was testing the fit of the truss rod. At this point I should probably explain the purpose of the two grooves that run down each side of the truss rod, and how they relate to the two slots in the body I mentioned earlier… …As you may have guessed, they are full-length reinforcements that run all the way from the saddle to the tuning pegs. Some high-end guitars do have these embedded in the neck for tuning stability, and this was part of my reasoning for adding them to my guitar. However, the main reason I added them was thanks to bad experience with neck joints on previous guitars…
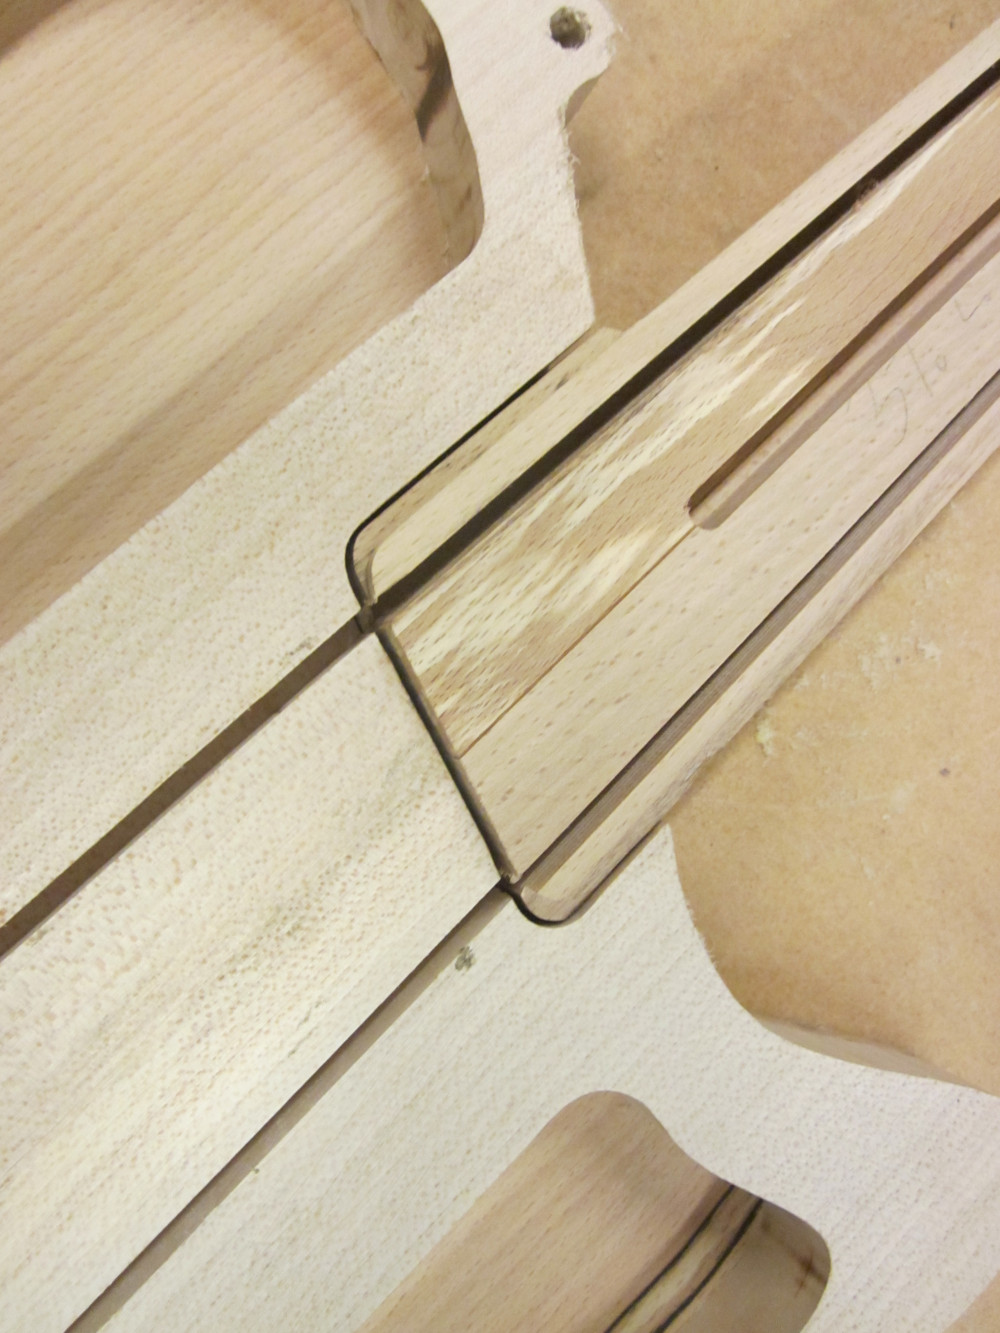
On both my Strat copy and my home-made Les Paul Junior (visible in the picture at the top of this page), the neck joints never inspired confidence. Neither of the necks fit snugly in the body and this had led to tuning instability. I did not trust my own craftsmanship sufficiently to assume that I could make a snug neck joint, and this lack of trust in my own abilities sadly turned out to be accurate. As you can see in the picture above, my neck is quite a bit smaller than the pocket it sits in. Thankfully, my steel reinforcements make this irrelevant. The metal bar stock bridges the gap between the neck and body, keeping the guitar extremely rigid and stable. I continued these metal strips right up to the tuners, and in a fit of nostalgia decided to bend the exposed metal strip into the shape of a Telecaster headstock (pictured below).
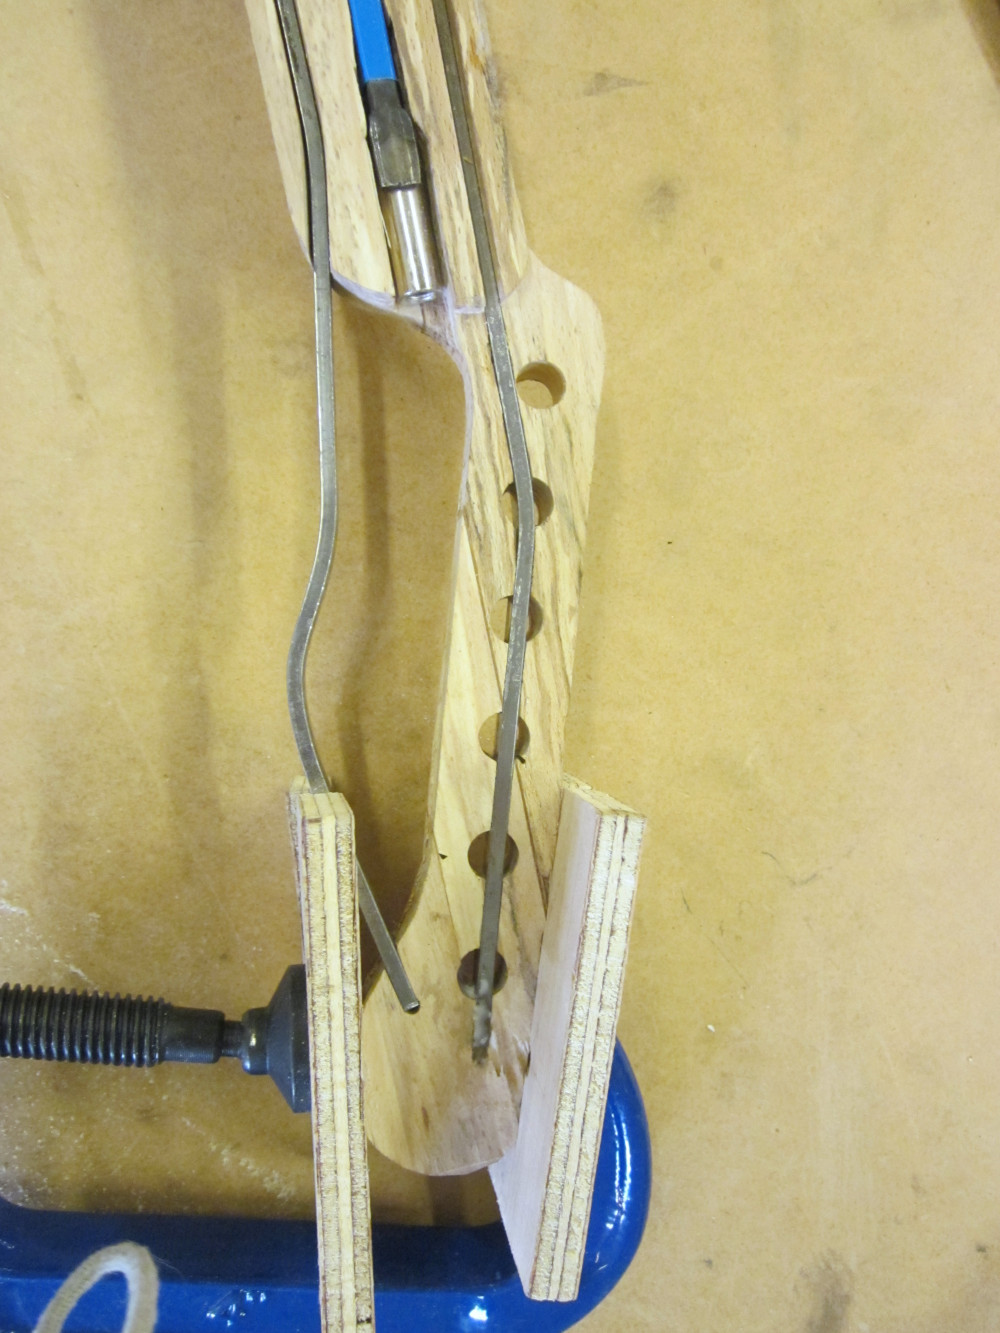
Unfortunately, it turned out that continuing the metal strip through the tuning peg holes was a mistake - one I paid dearly for when trying to remove the metal sections from the hole openings and cracking the headstock. After hastily covering the evidence of my blunder with wood glue and sawdust, I came to the moment of truth: gluing the neck into the body. I had to do this with epoxy so as to adhere to the metal strips, meaning I had to get it right first time, or the neck would be permanently set at the wrong angle and there would be no easy way to shift the joint. Thankfully it all went smoothly and the result is pictured below.
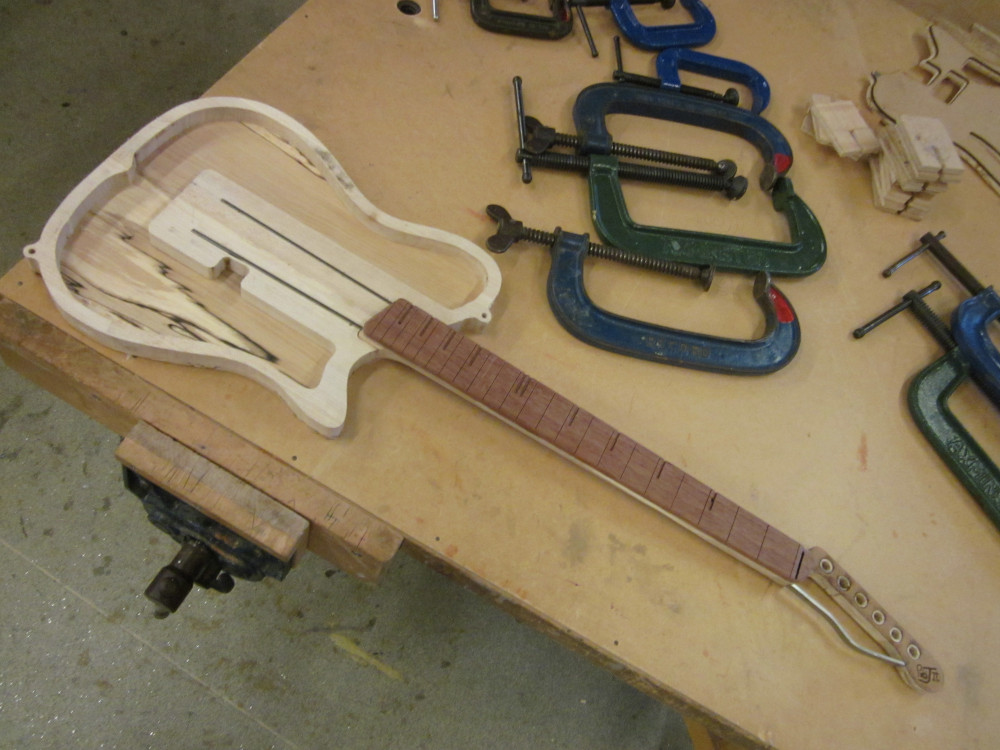
The last thing to do before gluing on the top cap and starting the long and laborious sanding process was to add some inlays to the fretboard. I kept things relatively simple with acrylic strip inlays, but I decided to make the inlays run all the way to the top edge of the fretboard, as this removes the need for side dots on the neck. The one key secret to inlays is that superglue and sawdust cover up any number of screw-ups!

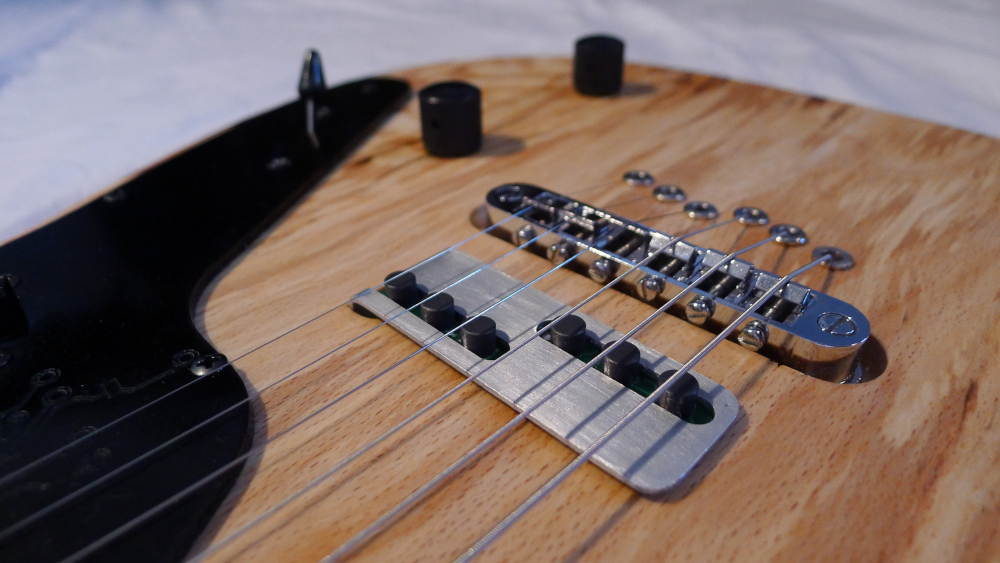
Above you can see the guitar after several hours of fine-sanding, prior to applying a simple oil-based finish. The process of gluing the top cap in place and flush-trimming the perimeter was relatively straightforward. The only complication was the arm bevel, which required me to bend the 6mm top round a corner without snapping it. I didn’t really want to use steam, so I made a few thin cuts on the back-side of the top cap and carefully bent the wood while dry. After this, I had to undertake the task that really separates guitar building from most other fields of wood-working: fretwork. Getting this right is critical to ensure that the instrument is playable, and requires some slightly more specialist tools.
There are loads of specialist tools that are designed for specific tasks that you undertake during fretwork, and also many tools designed to solve problems you didn’t even know you had (I’m looking at you, Stewmac!). However, I would argue that there are only three specialized tools you absolutely need. The first is a notched straight edge: levelling frets on a fretboard that is not flat or straight is an exercise in futility, so a straight edge is used to alleviate this problem. The second is either a levelling file or a levelling beam, used to ensure the fret tops are in the same ‘plane’ (I know the frets are curved, but I’m sure you get what I mean). I personally prefer levelling files, but a levelling beam is easier to make if you go down the DIY route. The third tool is a file with a rounded/polished edge. A regular file will probably do, but the polished edge helps avoid scuffing the fretboard while rounding over the frets. I bought these tools while on work experience at Crimson Guitars, but you can find these tools from various sources online.
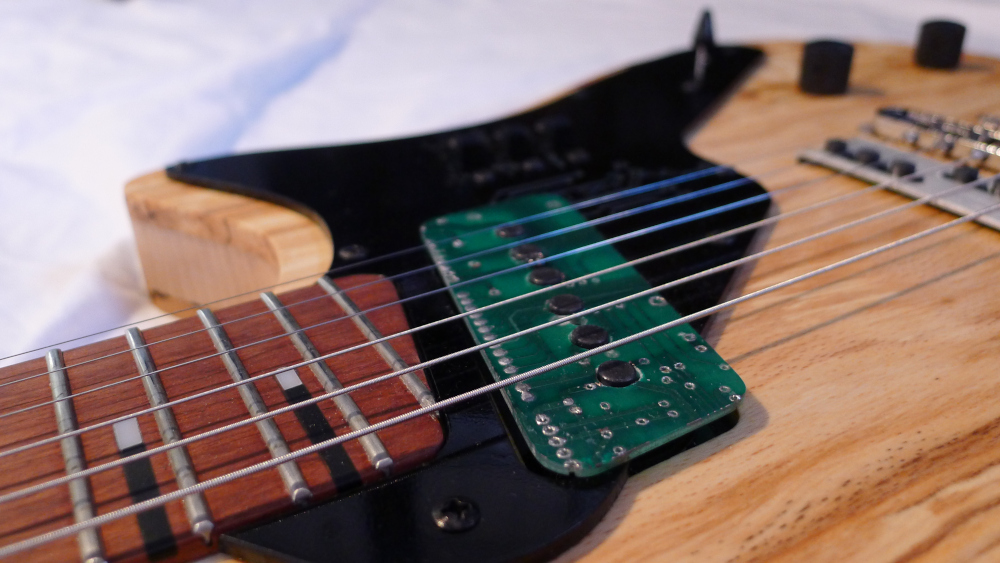
I won’t get into the actual fretting process here; there are numerous YouTube videos that show the fretting process from start to finish. All I will say is that the most valuable tool of all during fretwork is a Sharpie. By marking the top of the frets with a Sharpie, it is much easier to gauge your progress when both levelling and re-crowning the frets. To add the finishing touches, I laser-cut an acrylic pickguard, made a couple of custom pickups (read about that here) and added a nice arrangement of switches for series/parallel switching, phase inversion and treble filters. After a few more tweaks and a final setup, I was happy to call the guitar finished! While the instrument has its quirks, it is still a joy to play, though the steel reinforcements in the neck do throw the weight distribution off a bit. I do have plans to make version 2.0 of this guitar some day, with better ergonomics and lighter internals, but this first prototype will always hold a place in my heart as the first vaguely successful instrument I ever built.