Van Saga 1 - Raiders of the Lost Part
15-05-2022
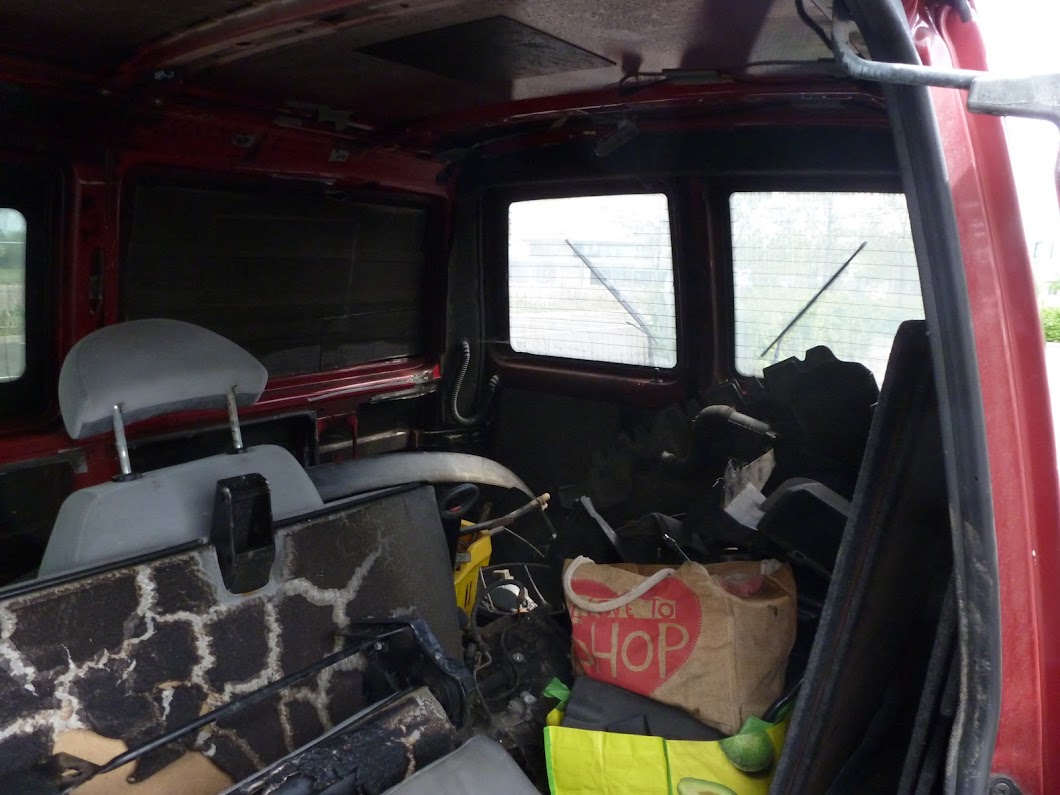
This is the first chapter in a rabbit-hole that has consumed uncountable hours of my time. Back in mid-2021 I saw a listing for a non-runner VW T4 van in the Swindon area. Suffice to say, if this isn’t already setting off alarm bells, when I went to view it, the front window was smashed, the entire interior was burnt-out, and the engine did not turn over.
In retrospect, this probably should have been enough to dissuade me from buying the van, but for some reason I decided it was a good idea, and went to pick it up a few days later. What could possibly go wrong?
Once I’d got it back, I began daunting task of doing an autopsy. This vehicle turned out to be the kind of project where the more time I spent with it, the more alarming problems I uncovered! As far as I could best work out, the previous owner had driven it for a couple of years back in 2011, at which point the engine had given in. He’d got halfway through a TDI engine replacement, then managed to set the interior on fire. After this he appeared to have let the van fall into disrepair. As we’ll find later, he’d also done an interesting job on wiring in the new engine.
This all sounds very negative, however there is one attribute of the van which was fairly surprising: its lack of rust. This meant that while the clean-up work was fairly back-breaking, it was at least done on a reasonably solid foundation.
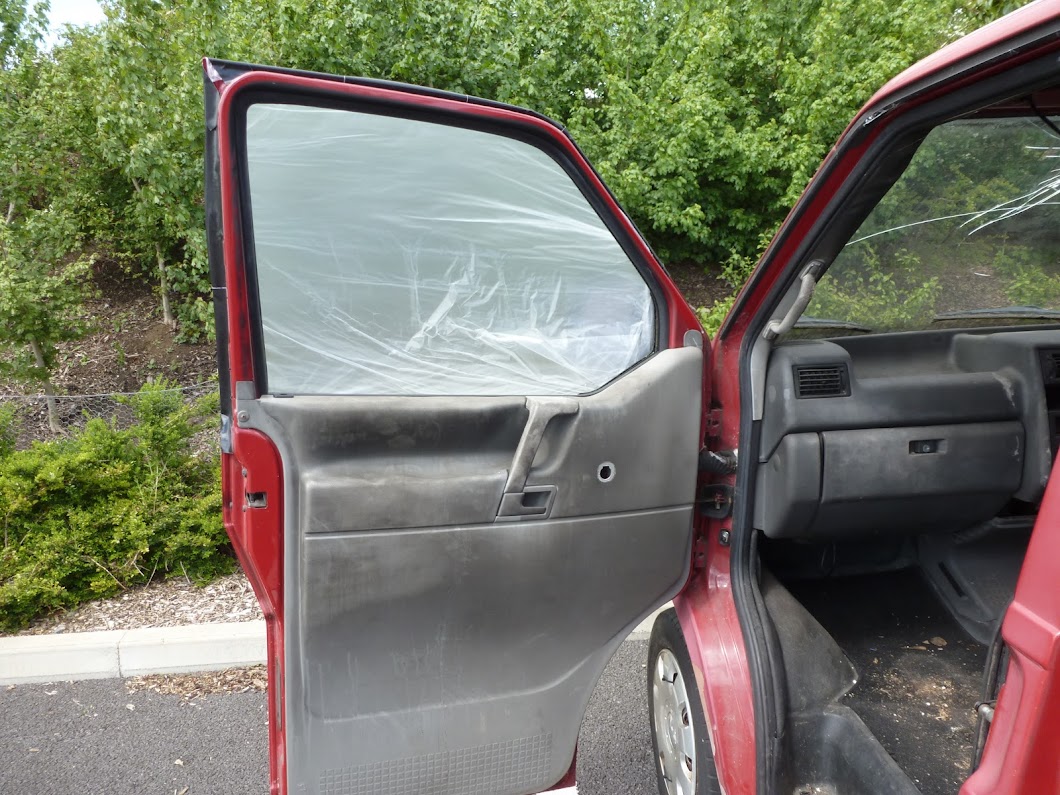
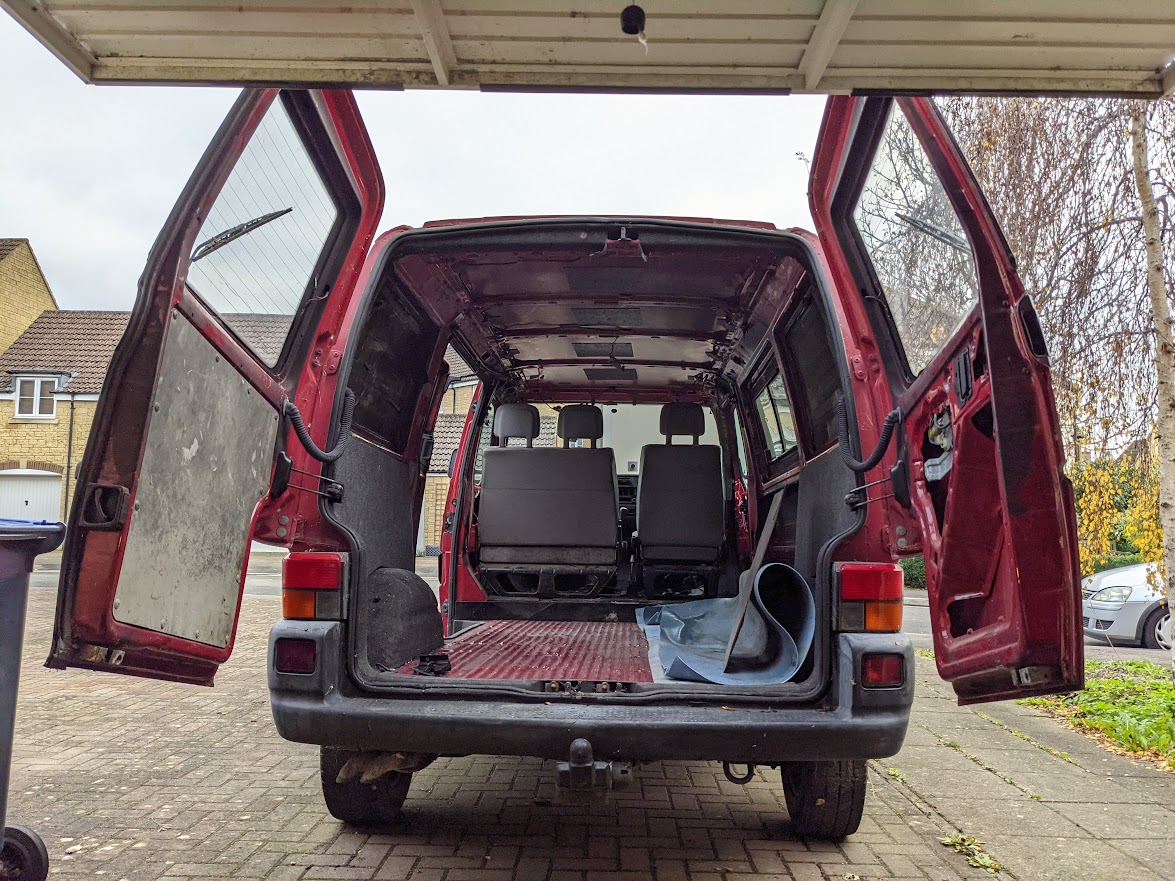
When I bought the van, I got given a set of electric window regulators. I assume the previous owner wanted to fit them, but never got round to it. However, I’d also assumed that they’d left the original manual window regulators in. This turned out to be a bold assumption. On towing the van, I found that the window had simply been wedged up with pliers, and there was nothing holding up the windows at all!
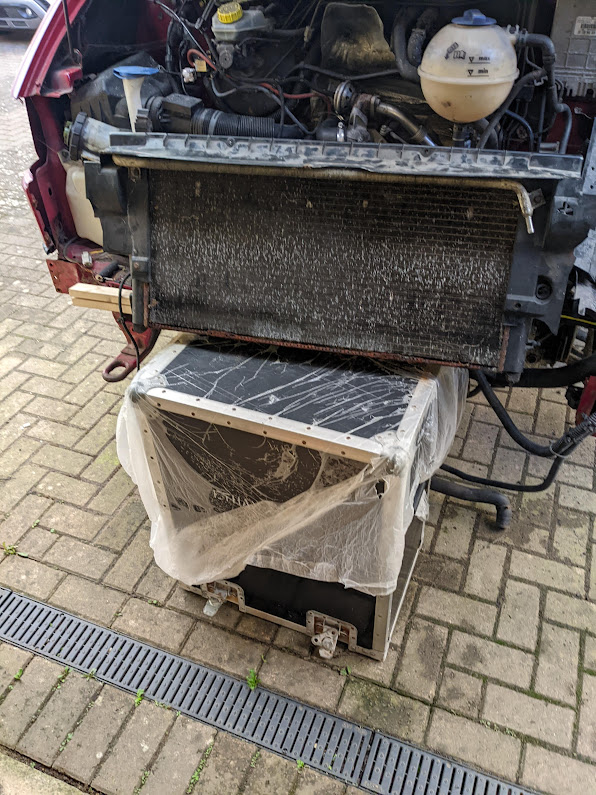
After scrubbing all the smoke damage from the frame of the van I needed some way of sealing up the windows before I retrofitted a power window controller, so I drove my Corsa very close to the van, and just shorted the window motors over my Corsa’s battery terminals (see left-hand picture).

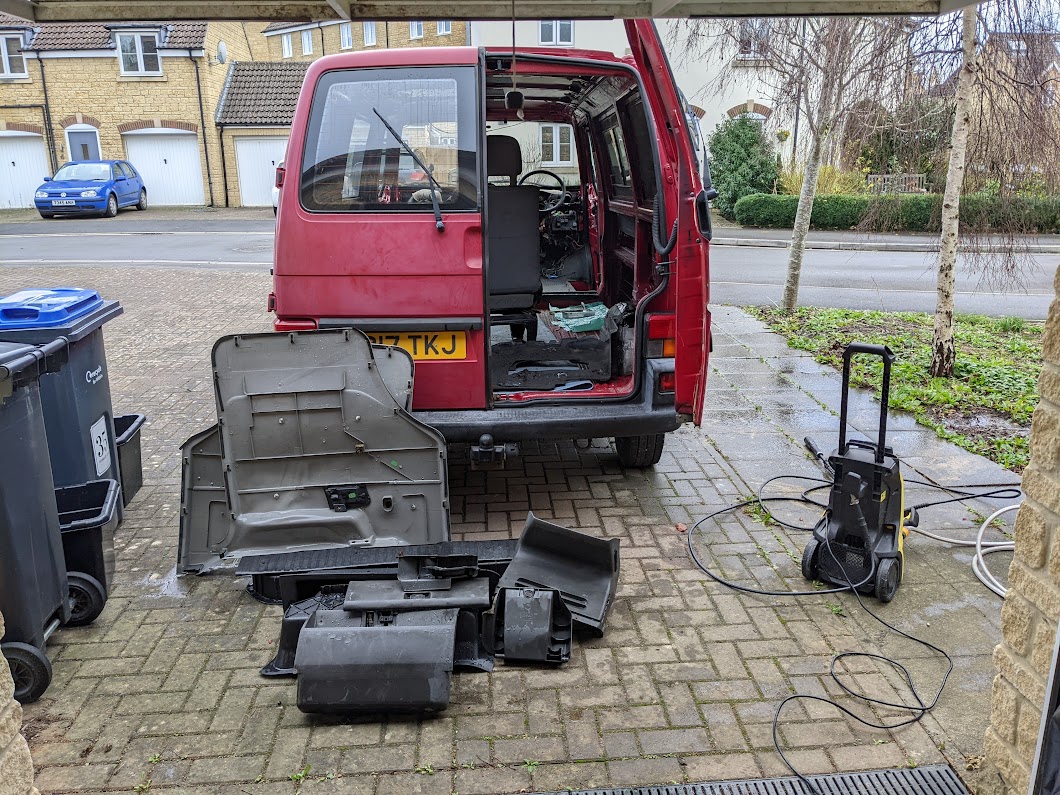
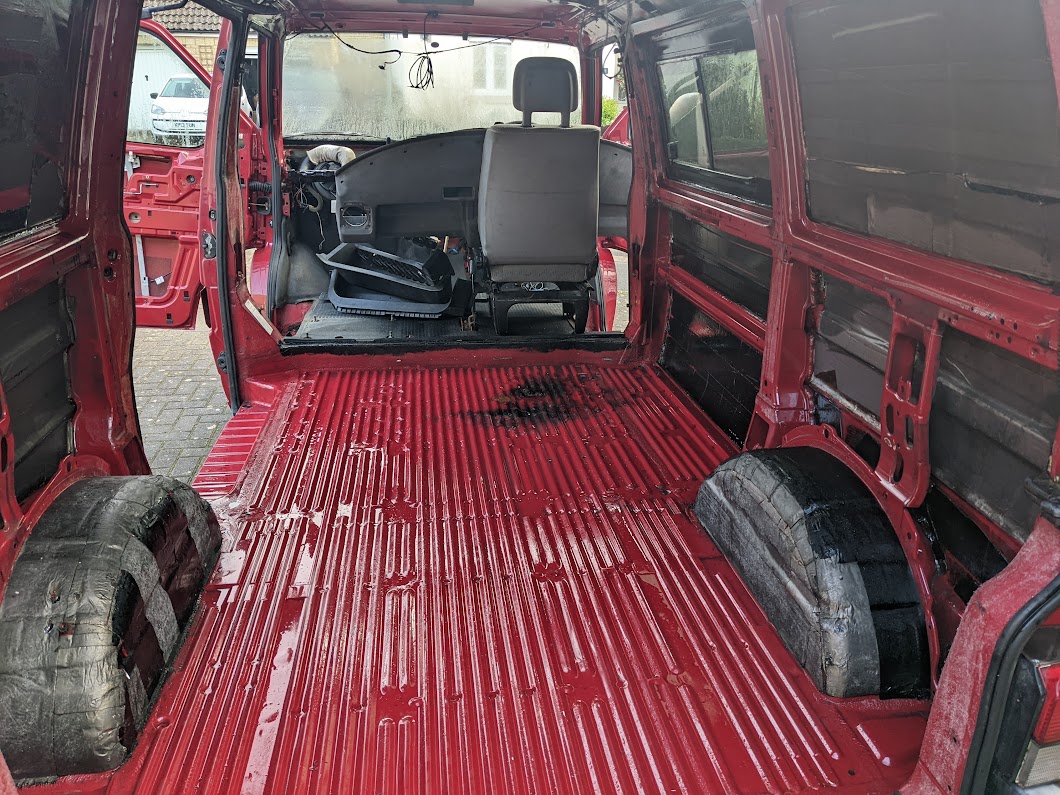
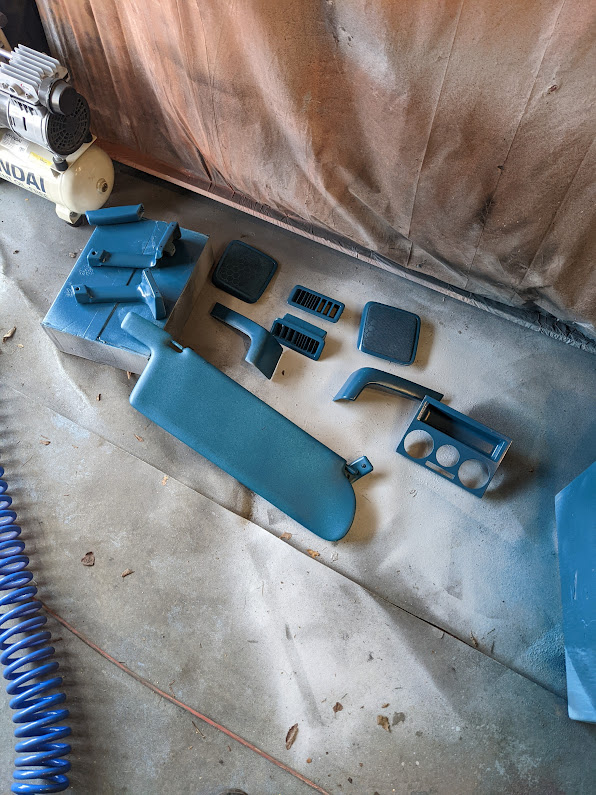
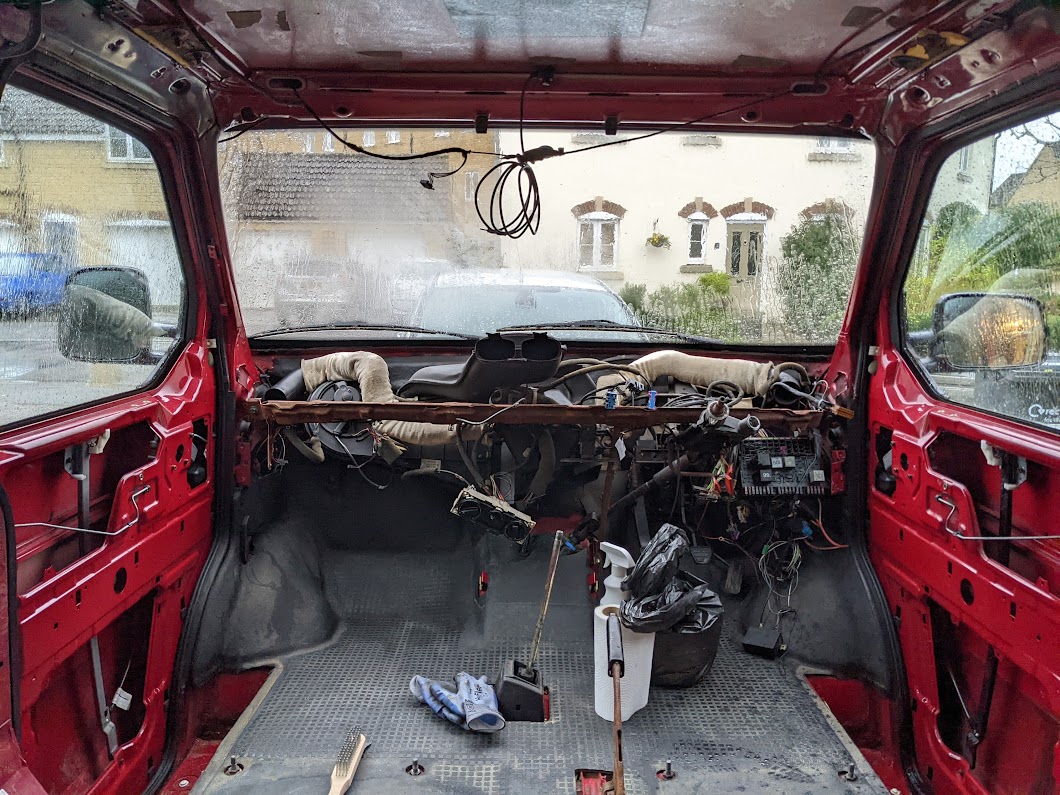
At this point, a few months passed, as I didn’t have a workshop setup, but then, after moving house, I suddenly got access to a garage, so could continue my restoration work. Virtually every part of the interior was smoke-damaged, so I had to strip out the entire trim right back to bare metal (see below). This gave me a good opportunity to neaten up all the internal wiring and replace all the disintegratng plastic in the interior. This was a back-breaking task that was made less fun by the fact that I had to do it in the winter!
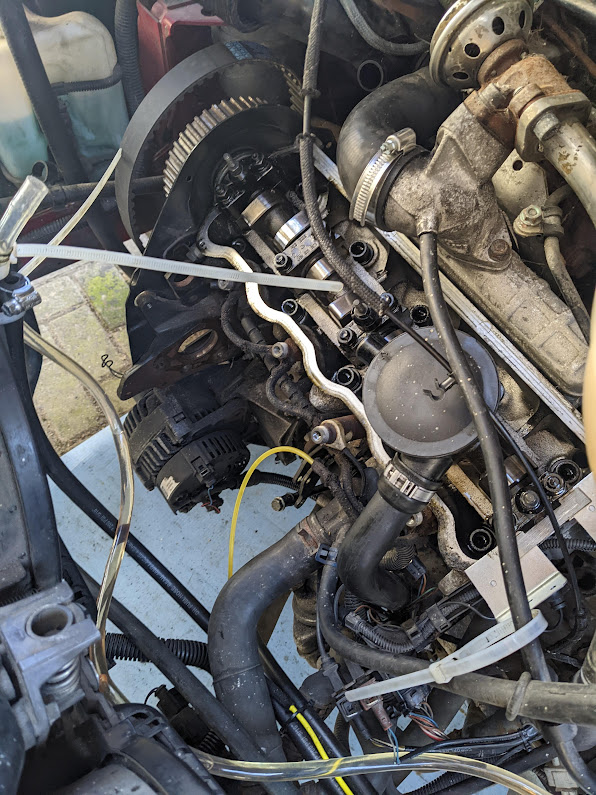
A couple of weeks passed doing cleanup work. What I was really putting off was addressing the elephant in the room: the non-working engine. To give some context, the previous owner had done the awkward part of actually removing the old engine and mostly plumbing in the new one, however that was as far as he got. The new TDI engine has a different control mechanism to the original TD engine, so a lot of tweaking and head-scratching needed to be done.
The primary difference between the TDI and the TD engine is the fuel injection method. On a TD engine, the injection pump is an entirely mechanical affair. The T4 has no lift pump, so the movement of fuel into the cylinders is entirely governed by the cambelt and a cable on the injection pump, which connects directly to the throttle. The TDI engine still has mechanical injectors, however the quantity of fuel and exact injection timing is controlled electronically. This means that your throttle has to be connected to a spring-loaded potentiometer rather than a cable. Retrofitting this in a T4 is relatively straightforward, but required a couple of brackets to be fabricated.
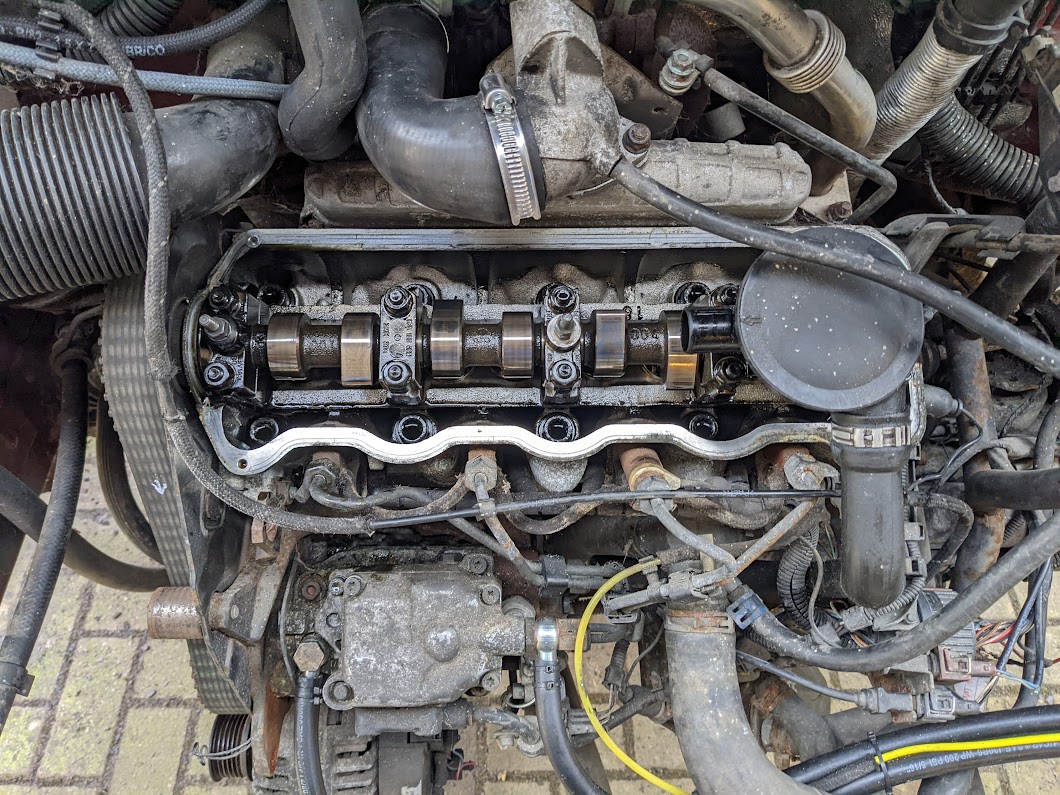
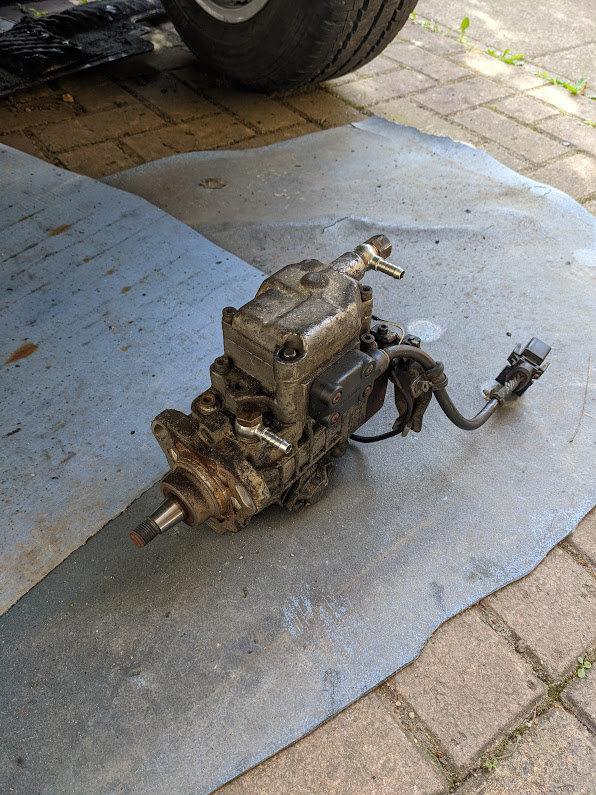
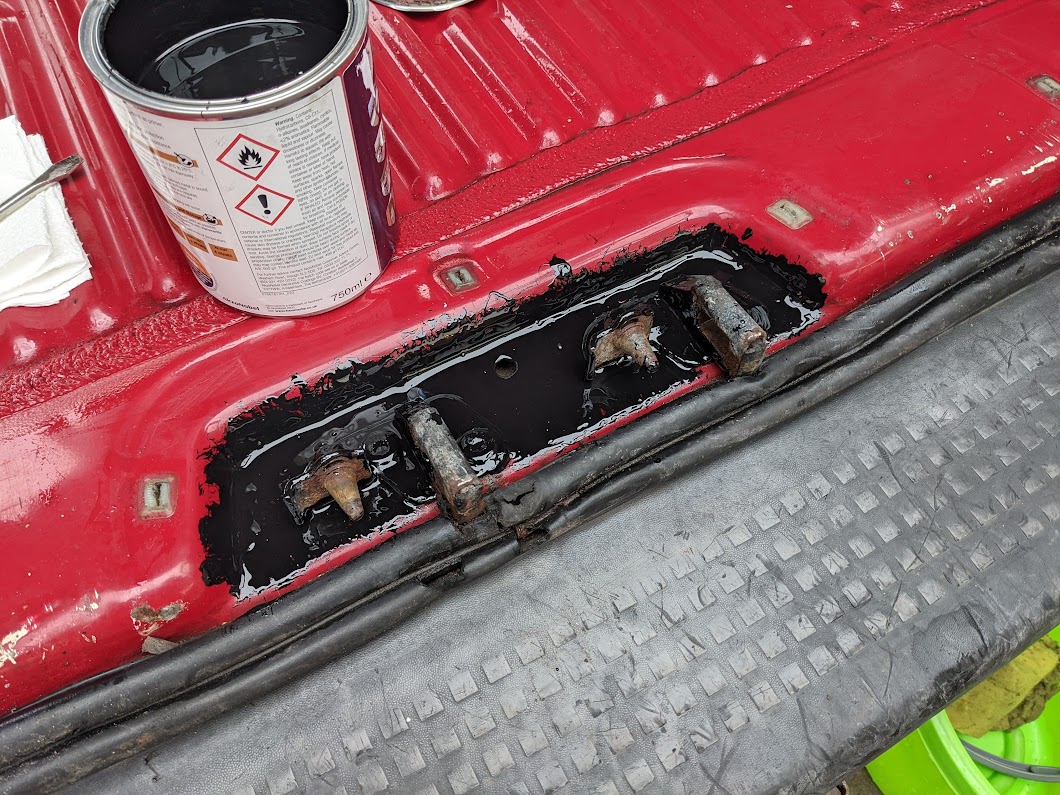
Part of the issues I was getting with fuel injection was due to air seeping into the fuel supply through the injection pump. You can remedy this by rebuilding the injection pump, but I opted to simply replace it. Above you can see both the engine cam-shafts (left), and the replacement injection pump (right). Replacing this part is a lot of work, so I decided to replace the cambelt, idlers and water pump while I had the front of the van broken down.
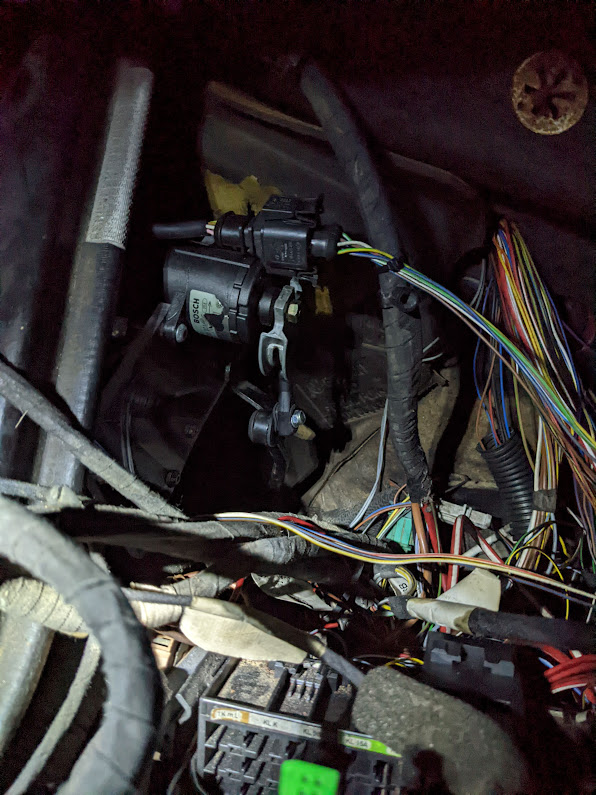
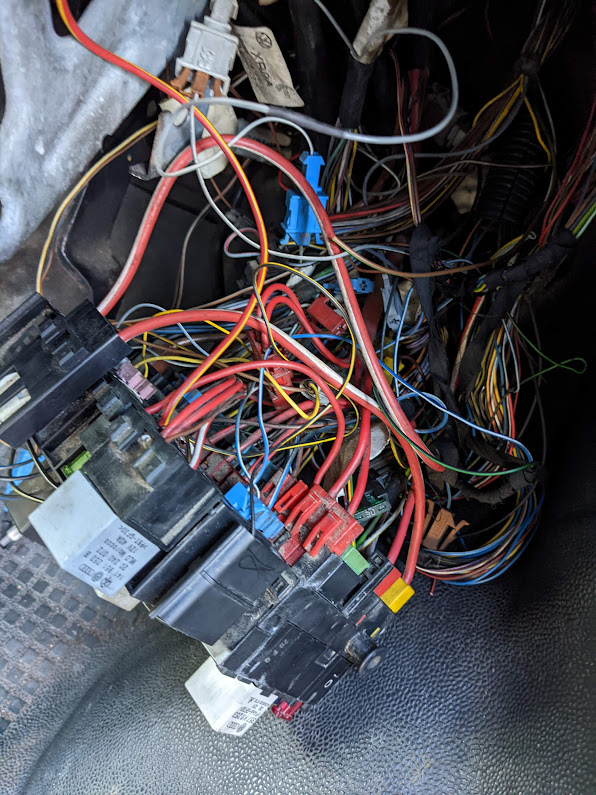
I thought this would solve many of my issues, but unfortunately I still couldn’t get the engine to tick over. At this point began the long and tedious process of electrical diagnosis required to get the vehicle up and running. This alone is a reasonably complicated job, as there are few freely available reference manuals for this kind of work. However, it was made worse by the fact that the previous owner had tried his own hand at fixing the problems, and in doing so had made a lot of things much worse! In the end, I had to re-wire a good portion of the harnesses, substiting my own connectors for many of the proprietary VW ones that I could not get a hold of easily.
This car is of the age where many systems were starting to convert to software-controlled, but are still largely analogue harnesses. This makes the wiring very messy to deal with, as there are a lot of cables and points of failure: however it is still relatively straightforward to diagnose with common tools. There were only a couple of parts of the electrics I had to diagnose with OBD scanners/oscilloscopes: most of the fault-finding can be done with a multimeter, which is quite refreshing.

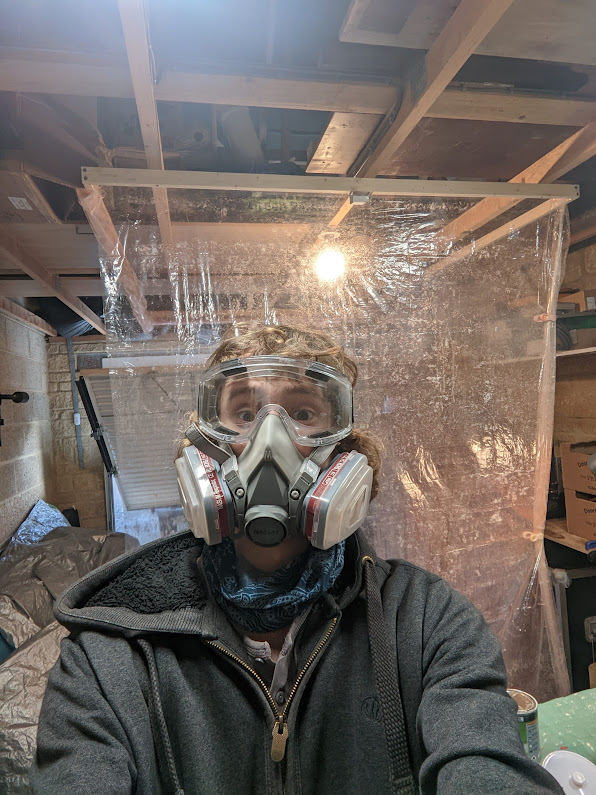
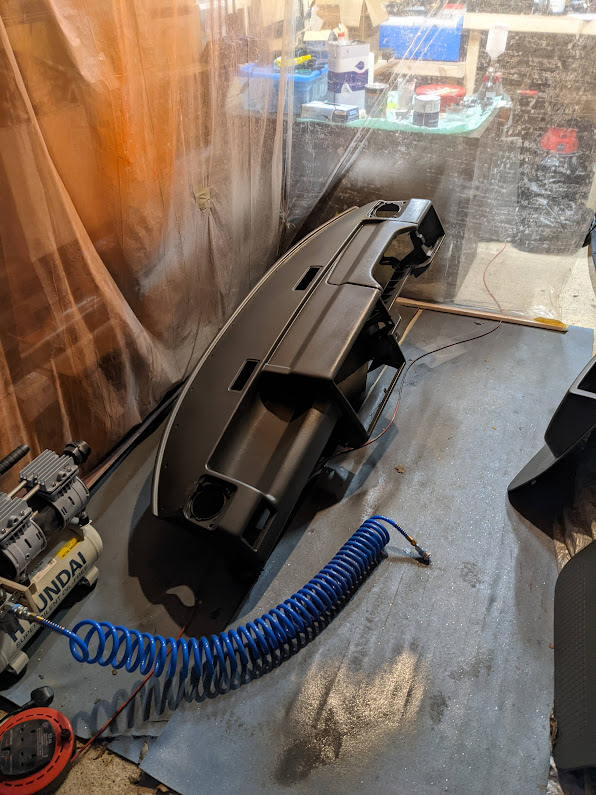
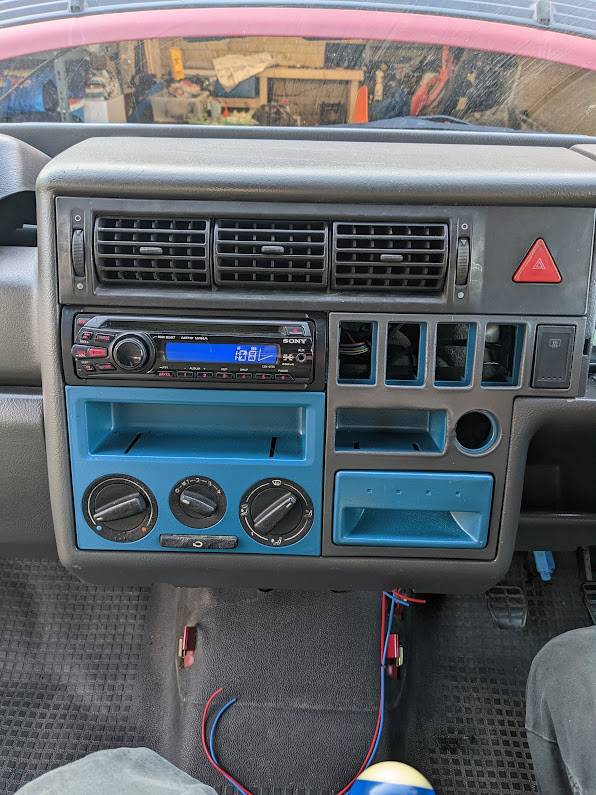
Once the vehicle was running, the next step was fixing up all of the interior trim. A lot of it had been melted by the fire, so had to be replaced. However the majority was only superficially burned, so I could restore it by re-spraying all of the interior parts. This was a good excuse for me to up my finishing game. I have been putting off buying a compressor/HVLP gun for spray work for a long time. It seemed like an uneccesary expense, especially as most of the small stuff I painted before could easily be covered with a single rattle can. However, since using the compressor setup, I don’t know if I could go back!
The compressor gives far more control over coverage and texture than you could ever get with rattle cans, and ultimately made this job far easier to manage in a short period of time. The results were impressive, however the one thing to note is that the painted finish scuffs far easier than the raw plastic trim, so I do have to take a bit more care when loading/unloading the front cabin. A lot of the plastic parts are slightly warped from the fire, but when painted, I think they ‘add character’ rather than make the vehicle look run-down.
Ultimately the restoration of this van turned into a far bigger job than I ever anticipated. There are so many small details that go into a full vehicle, so when you have to assume that all of them could be faulty/been installed incorrectly, suddenly the few ‘minor tweaks’ that are required to fix something compound into a pretty hefty job!
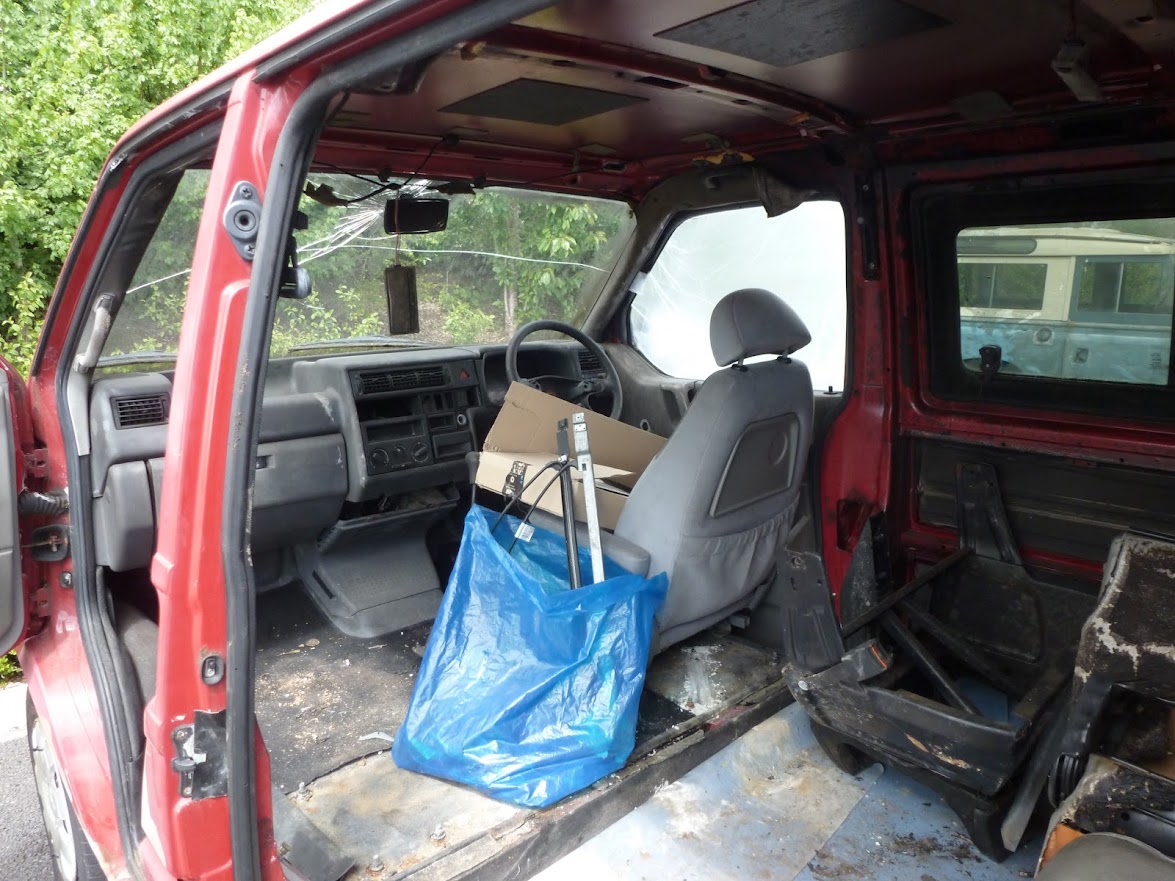
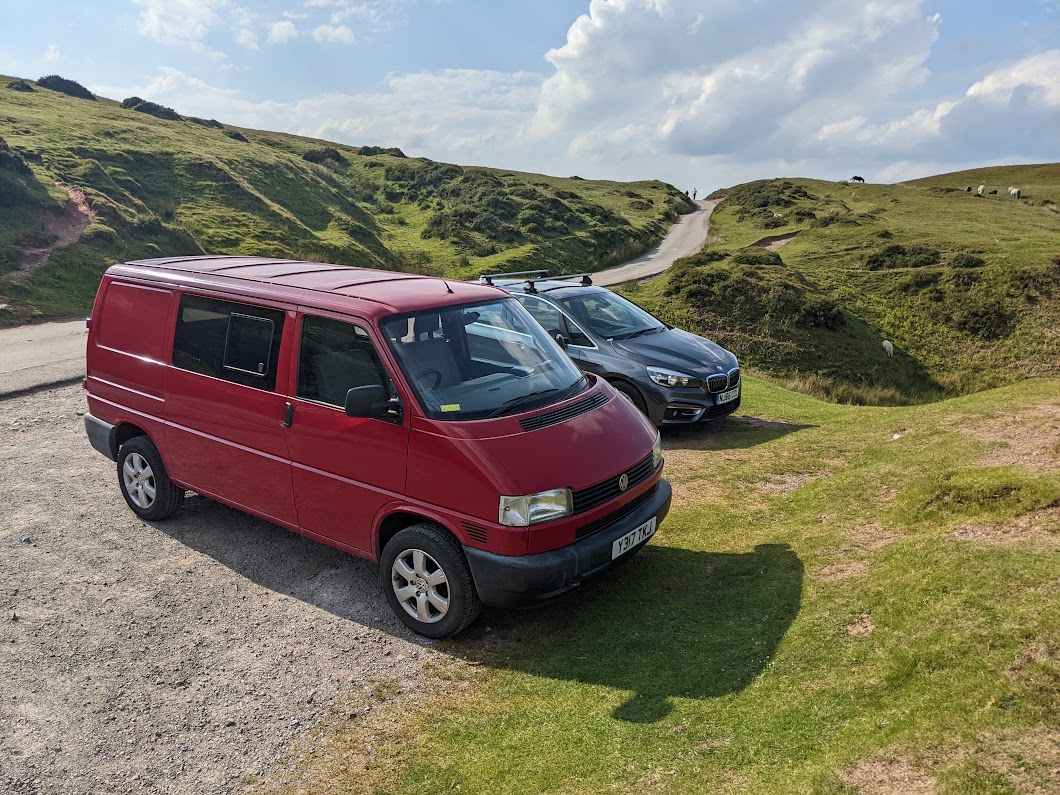
But finally, after many weeks of restoration and troubleshooting, the van scraped through it’s MOT! There are still a lot of things I need to address, but ultimately it was very satisfying to see the van go from this …
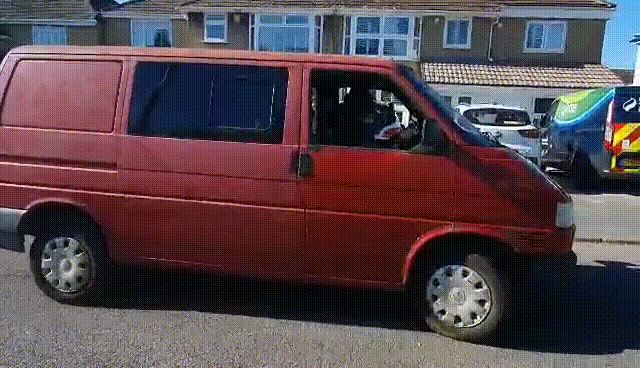
… to its first proper outing!
This is part one in a multi-part series. There are far too many details to cover on this website, but hopefully I’ll be able to cover the highlights here! Read on about the interior conversion in Part 2. In the meantime, here are a few more photos from the restoration!