Artnet Node
18-02-2018
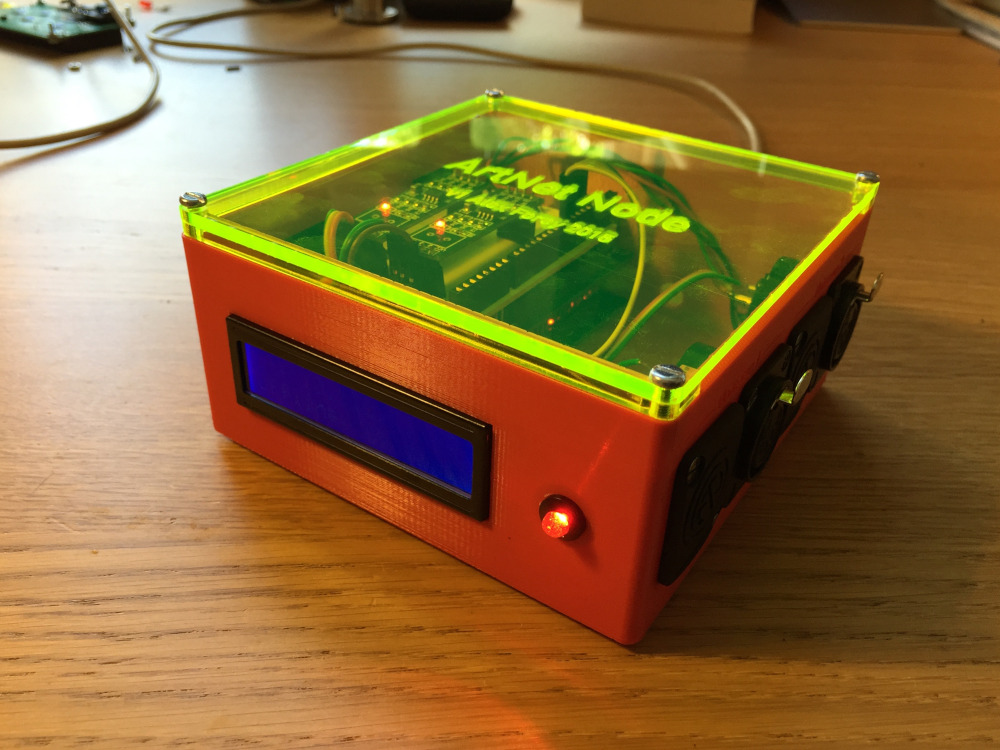
Recently, there have been a variety of events where I have needed more than one universe of DMX for a show. Particularly when bringing shows into other venues, often the rig is spread out over multiple DMX universes, and having more than one DMX output is always handy. For most theatre shows, I use MagicQ on PC with the Entecc DMX USB Pro, but MagicQ only allows the use of one single universe of DMX out over a USB interface, meaning I cannot simply use two of them to get two universes of DMX out of the software. However, MagicQ does allow the full 64 universes to be output over Artnet/sACN, even in demo mode! Now, you can buy these at an ‘affordable’ price relative to the cost of professional kit, but they are still a bit on the expensive side for a hobbyist. A fun alternative is to make one! The unit pictured below cost me about £20 in parts, and depending on what you have lying around could be even cheaper. The system is built around an Arduino Mega, so is relatively easy to modify to suit people’s particular needs, and the unit is much less liable to crash MagicQ than the Entecc converters in my experience.
The core of this project is based on the DMX library made available by Toni Merino, available here. This supports one universe of DMX on the Arduino Uno, and up to four on the Arduino Mega (performance starts to suffer at about three universes, so I would not recommend exceeding two). The code is based quite closely on a similar project made by Alex Forey (original project pictured below), however both his code and the original library code by Toni Merino will not compile in modern versions of the Arduino IDE. This is because many register names have been changed since the library was written, so much of the old code has been “poisoned”. Personally, I can’t stand having to use multiple versions of the same software, so I re-wrote the library with the modern register names and syntaxes. This updated library can be found on GitHub, along with the rest of my source code. Aside from the Arduino Mega, I used a pair of MAX485 ICs to drive the DMX lines ( optical isolation is recommended here, but not mandatory), and a Wiznet W5100 breakout board for Ethernet connectivity. I didn’t feel like making a PCB for this project, so I wired it all together on a piece of stripboard and enclosed the entire thing in an old extrusion-style case I had lying about.
It has been a while since I modified the libDMX.cpp library, but as far as I can remember, most of the trouble was caused by the SIG_USART syntax, which has been poisoned since Arduino Version 0023. If you encounter similar
syntax bugs elsewhere, you essentially have to convert this syntax:
#if defined(USE_UART0)
ISR(SIG_USART0_TRANS) {
    ArduinoDmx0.Process_ISR_TX(0);
}
#endif
…into this syntax:
#if defined(USE_UART0)
ISR(USART0_TX_vect) {
    ArduinoDmx0.Process_ISR_TX(0);
}
#endif
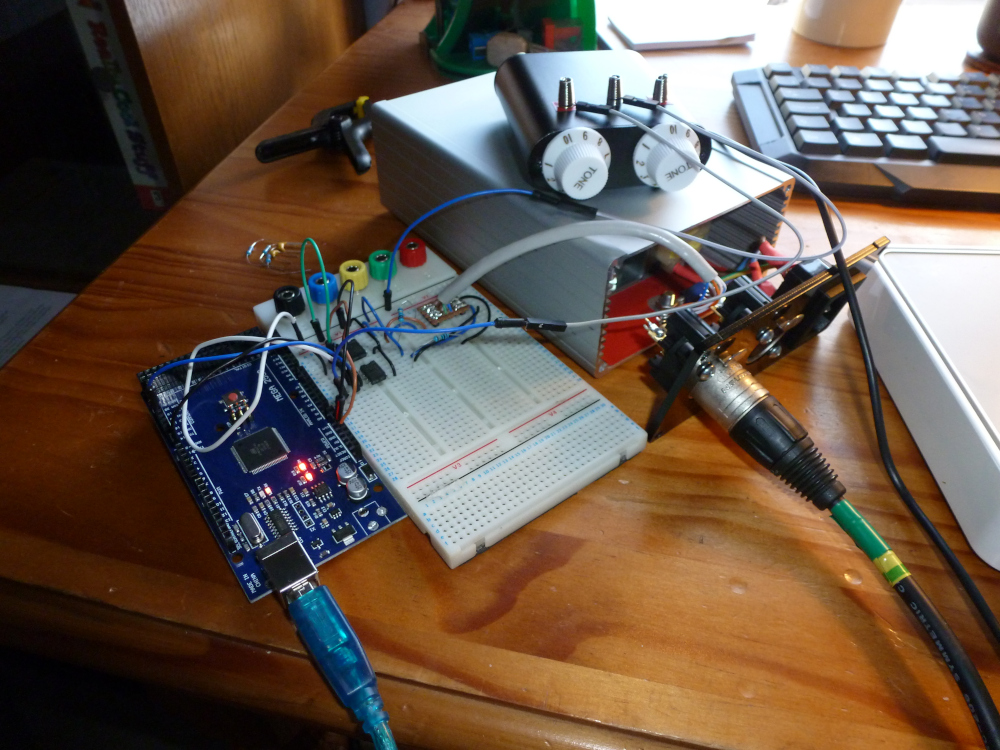
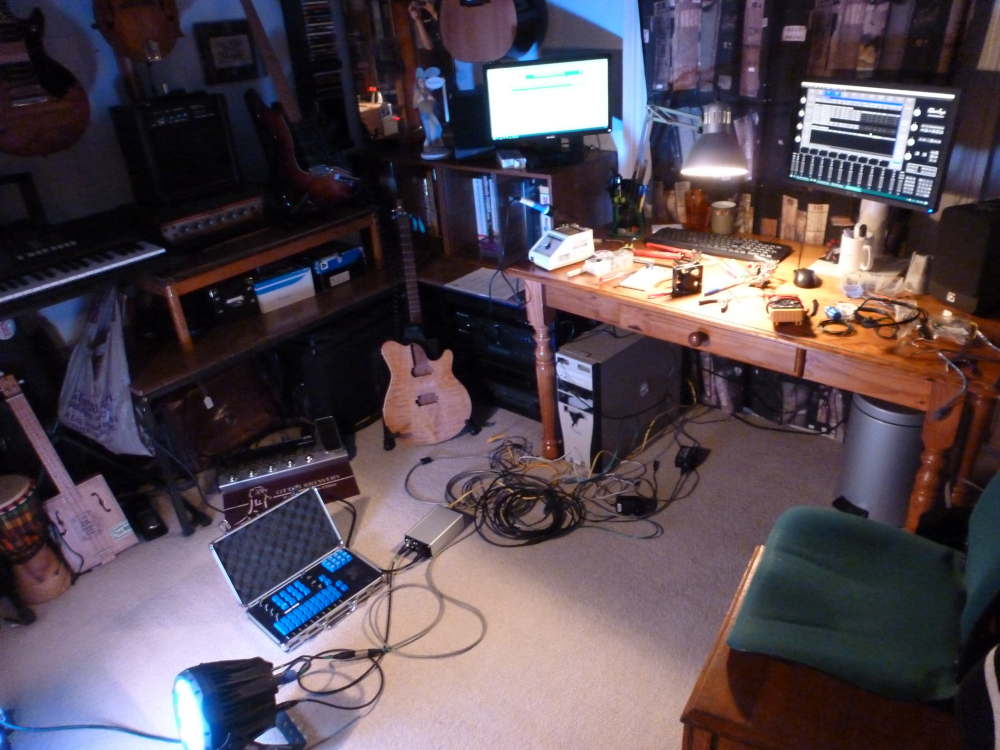
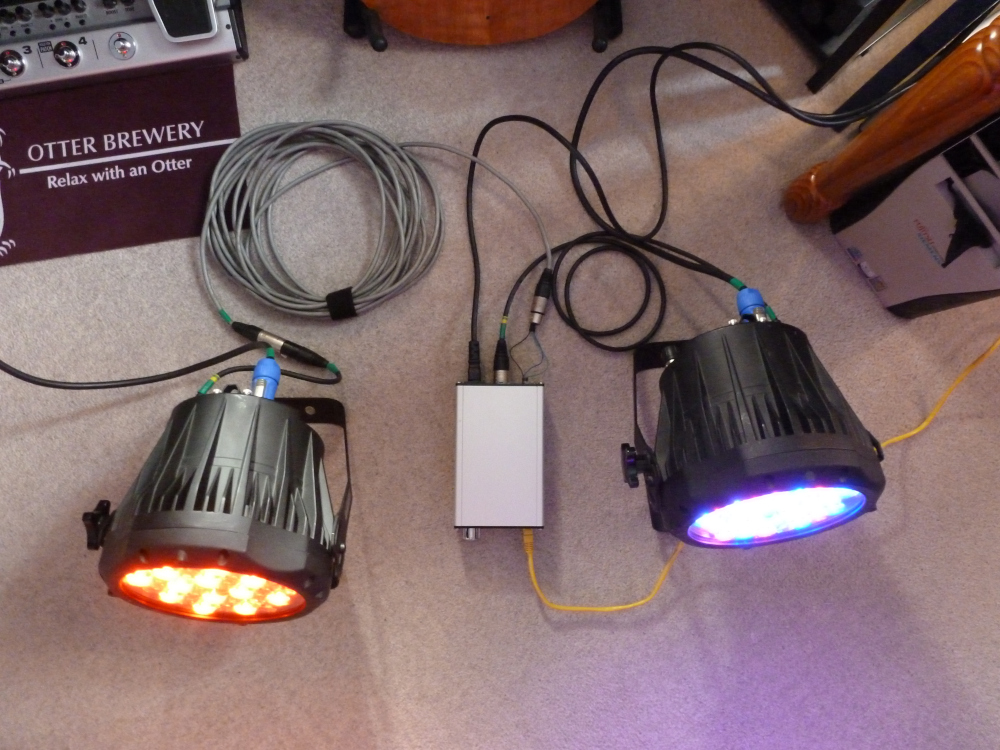
This project was actually relatively quick to get up and running. While I haven’t got some of the fancier features you would expect in an Artnet node to work, like remote configuration and auto discovery, the actual recieving of packets and outputting DMX is rock solid, and has not let me down in a performance as of yet. The nice thing about Artnet compared to the USB interfaces is the ability to set up redundancy. If you direct two Artnet streams at a single address, the node will simply take the highest value of the two streams, so if one console goes down during a show, the other will take over seamlessly. Below is a picture off my first test of operation, paired with my custom MagicQ wing (read about that here). The combination of the two devices make a very powerful lighting console, which can act as a backup for the main venue console, all for a total of about £40 between the two projects. This is all part of my ongoing project to make the ultimate PC-based lighting console :)
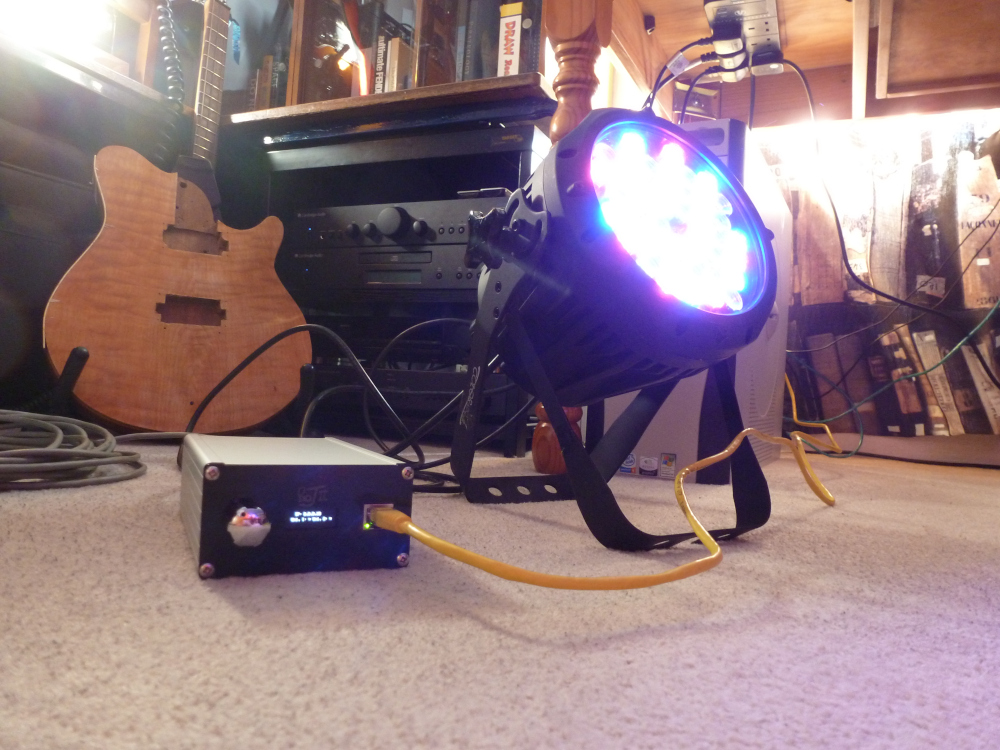
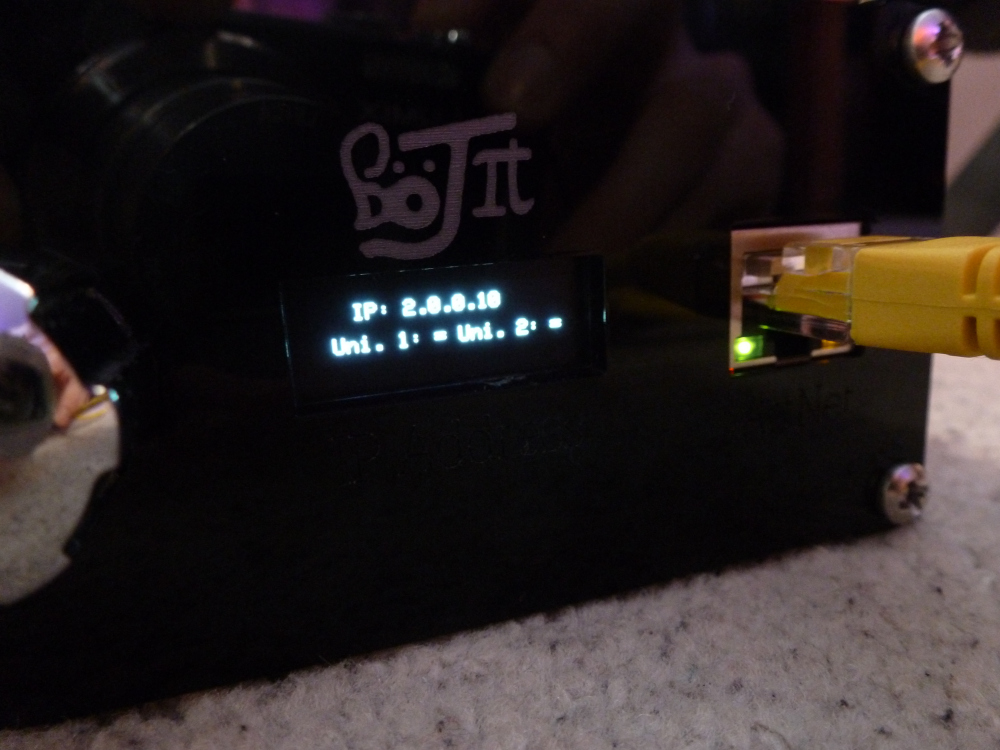
When all tidied up, the unit looks quite smart on the outside (despite being a complete mess inside). This was also the first project I made with an integrated mains supply. When doing a theatre get-in, the last thing you want to be doing is digging through boxes to find the right wall adapter! When doing this it is very important to make sure the case is properly mounted and everything inside the case is rigidly mounted, so as to prevent any potential shorts between the live AC input and the control circuitry. I also re-wrote the code to use these really cutesy OLED displays you can get on eBay for next to nothing. At the moment I have not implemented encoder support for configuring the node IP address, as I was nervous someone would fiddle with the settings midway through our last show, however this is something I am planning to do if I get round to updating this project.
In the future I am planning to port this project to a much cheaper ARM development board like the STM32 ‘Blue-Pill’, as well as get remote configuration and discovery working. The target is to make a simple module that can be embedded into projects and cheaper fixtures to add networking capabilities retroactively. However, suffice to say, this is quite a while off, as I have some more exciting projects in the pipeline!

